Integrating IIS with Ephesoft Tomcat Server
February 12, 2015
|In Other
Applies to:
- Ephesoft Transact 3.1 and above
- IIS 7, 7.5, and 8
Overview
The process to integrate Internet Information Services (IIS) with Ephesoft follows these general steps:
- Create a new site named “Ephesoft” in the IIS manager.
- Configure the AJP connector so that the Ephesoft Tomcat server works with the IIS web server.
Create Ephesoft Site in IIS Manager
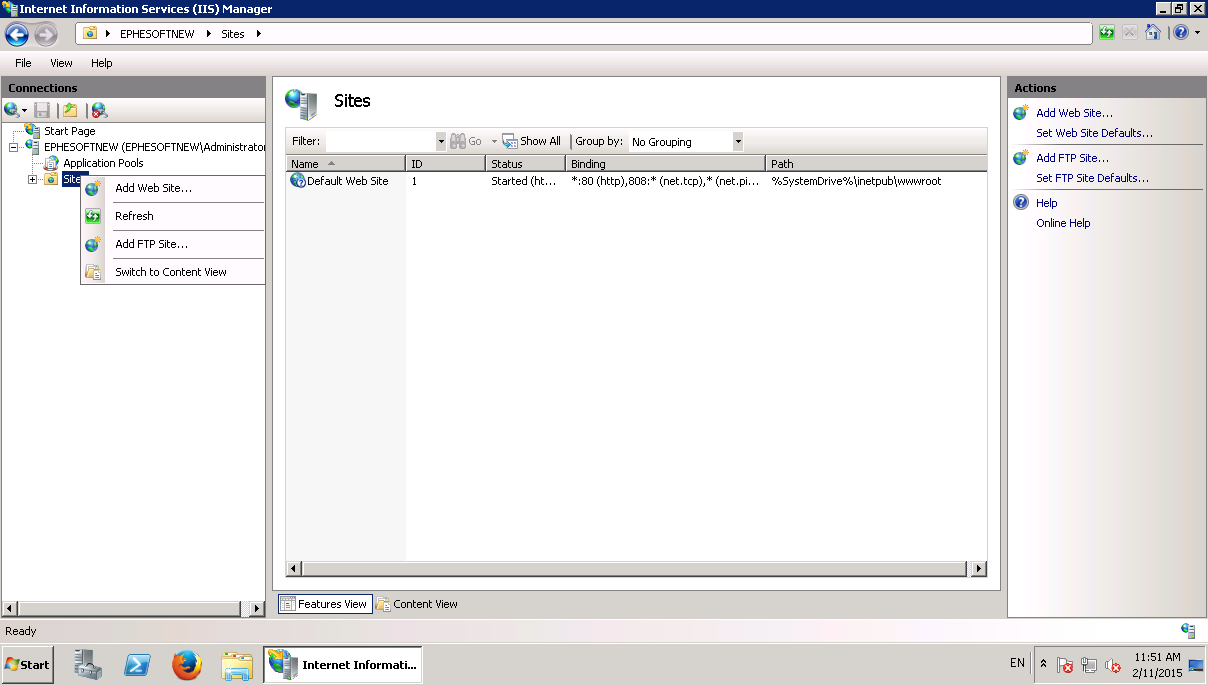
- Open the Internet Information Services (IIS) Manager on your Windows server by typing “inetmgr” in the search box. A window as shown below will get opened.

- Select Sites under the IIS server in which Ephesoft needs to be configured. Right-click Sites and select Add Web Site. A new pop-up will appear.
- Enter the Site name, Physical path, and Host name.

- Click OK.

You have successfully configured the new site in the IIS manager. Next, you will need to Configure the Tomcat AJP Connector.
Configure the Tomcat AJP Connector
- Download the open-source IIS to Tomcat Connector from GitHub.
Note: If the above link does not work, go to BonCode Connector and download the latest version from the GitHub link provided on this site.
- Extract the downloaded archive and execute Connector_Setup.exe, available in the extracted package. The installation wizard will launch.
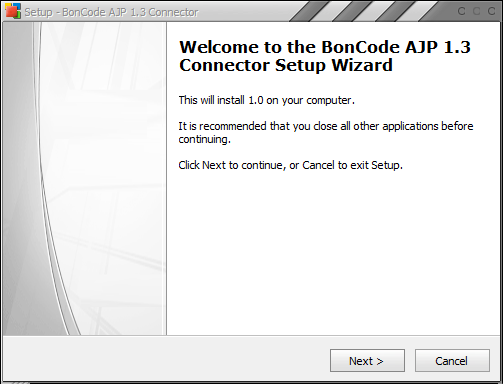
- Click Next.
- Read the confirm the Terms of Agreement.
- Enter the Apache Tomcat Server hostname and Apache Tomcat AJP Port configured in the server.xml of the Tomcat server. The default AJP port configured in Ephesoft is 8009. The default populated value (i.e localhost and 8009) will work if the configuration is being done on localhost with the default Ephesoft JavaApp server.
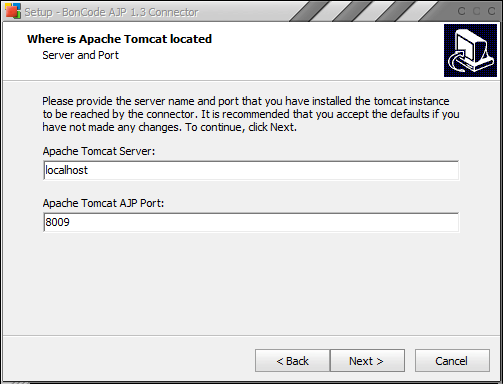
- Click Next.
- Check Enable Remote Access to Apache Tomcat and click on next.

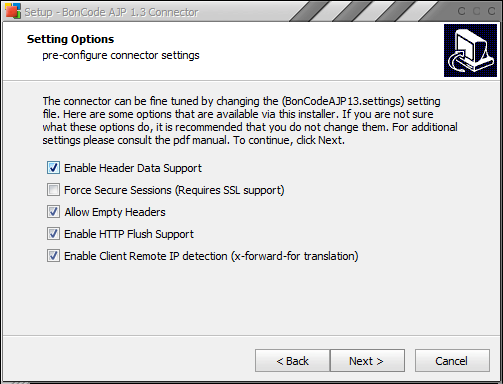
- Select all options except Force Secure Sessions.
- Click Next.
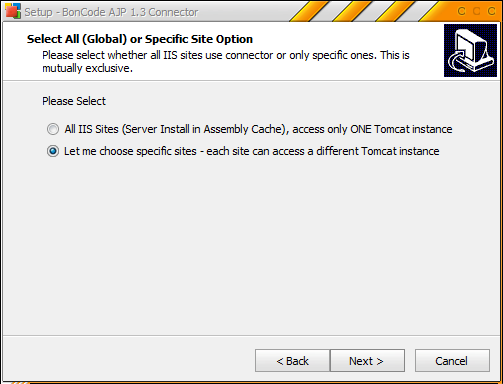
- Select Let me choose specific sites.
- Click Next.
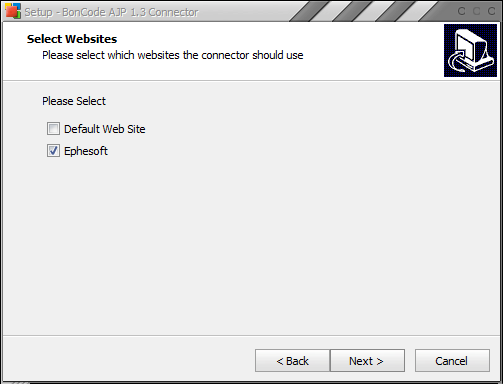
- Clear Default Web Site and select Ephesoft.
- Click Next.
- For Select Handler Mapping, select all available request types.
- Click Next.

- Select Enable IIS Sub Configuration.
- Click Next.

- Click Install. When the installation is complete, the AJP connector is ready to take requests from the IIS server.
- Before logging into Transact, restart both the IIS server and Ephesoft Tomcat server.
Note: To verify successful integration of IIS with Ephesoft Tomcat, try accessing http://localhost/dcma on a web browser (if Ephesoft site is bound with port 80, if it is bound to any other port try http://<hostname>:port/dcma).
Troubleshooting
- Ensure the logged in user who is managing the IIS server has the proper file system level permission in the Application folder.
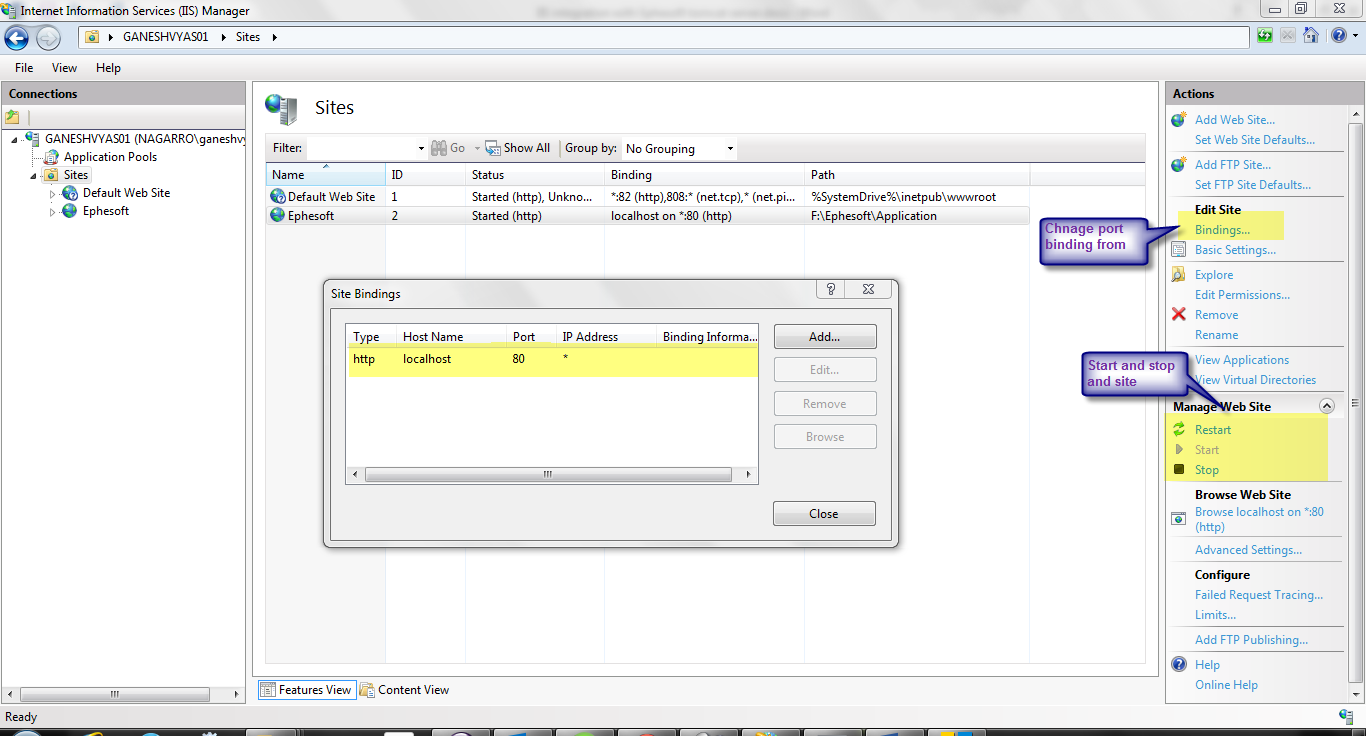
- Ensure no two applications are running on the same port. When we create a new site in the IIS server, by default it binds with port 80, and also the default site available in IIS is also configured to run on port 80. In such case either change the port binding of the Ephesoft site or stop the default site that will be running by default.