Introduction
This document provides information on important changes related to MariaDB and MySQL on Windows. The following changes affect Ephesoft Transact 2019.2 or above:
- The Ephesoft Transact installer no longer installs any database management systems (DBMS).
- Ephesoft Transact no longer supports MySQL databases.
Refer to Install and Upgrade and reference the Platform Configurations and Third-Party Integrations article for your version of Ephesoft Transact to find more information on supported database versions.
Prerequisites
There are no prerequisites for this document.
Installing Ephesoft Transact
Follow these instructions if you are installing Ephesoft Transact 2019.2 or above for the first time.
Check for MariaDB
Check your system for an existing instance of MariaDB before installing Ephesoft Transact.
- If you do not have an existing instance of MariaDB, proceed to Install MariaDB.
- If you have an existing instance of MariaDB that is supported for Ephesoft Transact 2019.2 or above, you can return to the Windows install guide for your version.
- If you have an existing instance of MariaDB that is not supported for Ephesoft Transact 2019.2 or above, you will need to install a supported version. Proceed to Install MariaDB.
Upgrading Ephesoft Transact
Follow these instructions if you are upgrading to Ephesoft Transact 2019.2 or above. This section provides instructions on how to upgrade or migrate your database in the following cases:
- Existing MariaDB
- Existing MySQL
Existing MariaDB
If you have an existing instance of MariaDB, ensure that your instance of MariaDB is a supported version before upgrading Ephesoft Transact. Refer to Install and Upgrade and reference the Platform Configurations and Third-Party Integrations article specific to your version for more information.
- If your instance of MariaDB is supported for upgrade to Ephesoft Transact 2019.2 or above, you can return to the Windows upgrade guide for your version.
- If your instance of MariaDB is not supported for upgrade to Ephesoft Transact 2019.2 or above, you will need to perform a backup of Ephesoft Transact before installing a supported version. Proceed to Create a Database Backup.
Existing MySQL
If you are currently using MySQL with your version of Ephesoft Transact, you will need to perform a backup of Ephesoft Transact before installing MariaDB. Proceed to Create a Database Backup.
Create a Database Backup
This section outlines how to configure and create backups for previously installed MariaDB or MySQL databases. This process is required to restore and migrate the necessary data for Ephesoft Transact to function in the newly installed MariaDB instance and the newly created required databases.
If you do not need to perform a database backup, proceed to Install MariaDB. Otherwise, follow the steps listed below.
- Open the Windows command prompt. Click Start and type “cmd”. Press Enter. The Command Prompt will open.
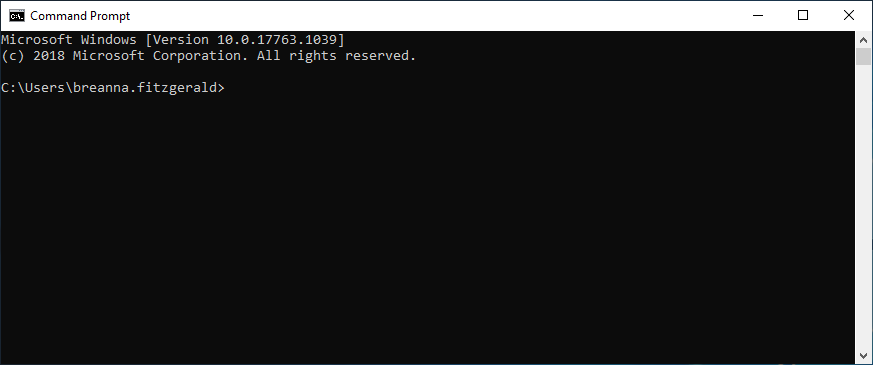
Figure 1. Windows Command Prompt
- Back up the ephesoft, report, and report_archive databases from the pre-existing database.
- Run the following command in the MariaDB installation bin folder, located in <Transact Installation Folder>\Dependencies\mariadb\bin\
mysqldump -u<root username> -p<root user password> -h<server hostname> -P<database port number> <Database name> --single-transaction --routines --quick --lock-tables=false > <Folder location>.sql
Note: Code listed in angled brackets are placeholders. Replace the placeholders with the relevant information. For <Folder location> include the full folder path where the backup file will be created.
-
- Run the mysqldump command for the ephesoft, report, and report_archive databases. Below are sample commands for each:
D:\Ephesoft\Dependencies\mariadb\bin\mysqldump.exe -uroot -pPassw0rd -hlocalhost -P3306 ephesoft --single-transaction --routines --quick --lock-tables=false > C:\dbdump\ephesoft_backup.sql
D:\Ephesoft\Dependencies\mariadb\bin\mysqldump.exe -uroot -pPassw0rd -hlocalhost -P3306 report --single-transaction --routines --quick --lock-tables=false > C:\dbdump\report_backup.sql
D:\Ephesoft\Dependencies\mariadb\bin\mysqldump.exe -uroot -pPassw0rd -hlocalhost -P3306 report_archive --single-transaction --routines --quick --lock-tables=false > C:\dbdump\report_archive_backup.sql
Important: Each database dump must be written to a unique backup file. You must create backups for any additional databases that may have been created on your original database. For example, if you have a separate database to hold FuzzyDB lookup tables.
Note: Always restore and verify your data on your alternate MariaDB DBMS before considering de-provisioning an unused DBMS.
- Continue to Install MariaDB to proceed.
Install MariaDB
This section provides information on how to install MariaDB on Windows. Refer to Install and Upgrade and reference the Platform Configurations and Third-Party Integrations article for your version of Ephesoft Transact to find more information on what version of MariaDB is supported.
Note: Ephesoft Transact 2019.2 and 2020.1 currently support MariaDB 10.3.
- Download a supported version of MariaDB from the MariaDB Foundation. The following instructions will reference MariaDB version 10.3.11, which is the supported version for Ephesoft Transact 2019.2.
- When the download is complete, open the Windows installer package.
The following screen displays:
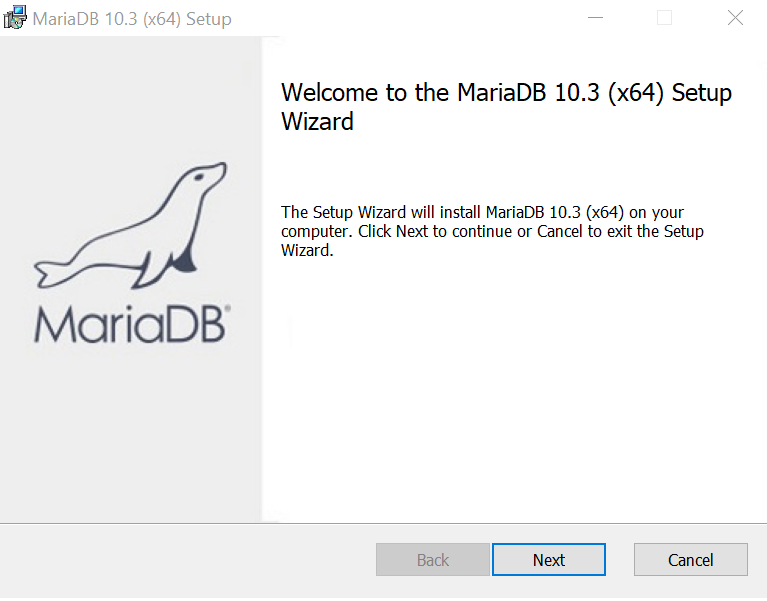
Figure 2. MariaDB Setup Screen
- Click Next.
- Read the end-user license agreement. Select I accept the terms in the License Agreement and click Next.
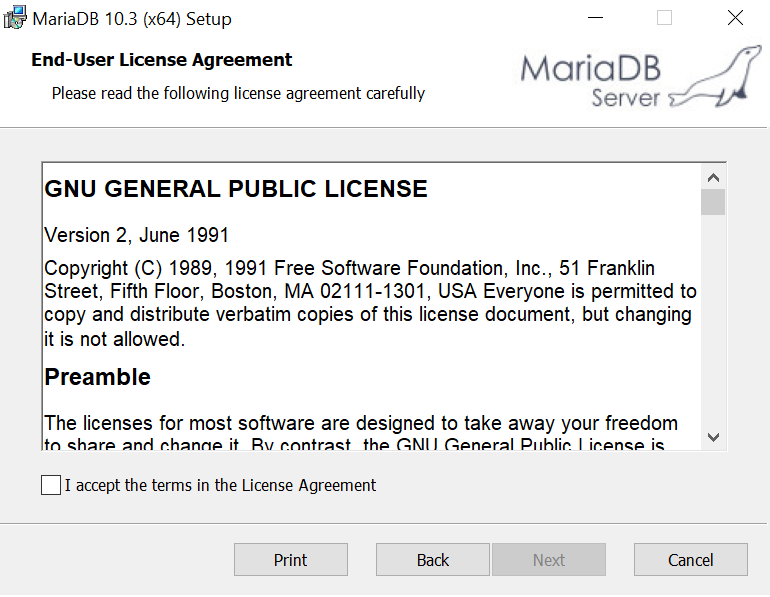
Figure 3. End-User License Agreement
- Select a database instance of the MariaDB Server and choose any desired features to install. All features are installed by default except the debug symbols. Select Browse to change the installation location if desired.
Important: MariaDB must not be installed anywhere inside the Ephesoft Transact folder path.
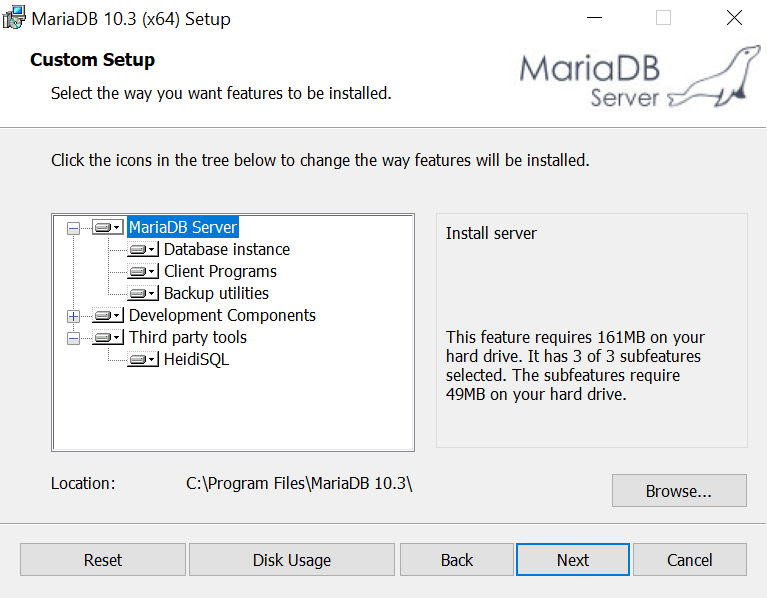
Figure 4. Custom Setup Screen
- Select Modify password for database user ‘root’ and enter a new root password in the text field. Confirm the new password by retyping it in the Confirm field.
Note: As an optional step you can select Enable access from remote machines for ‘root’ user.
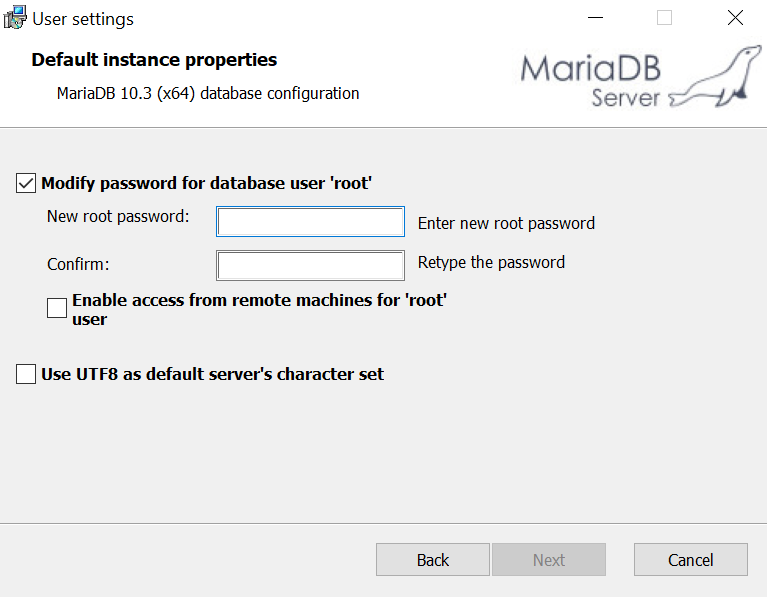
Figure 5. Default Instance Properties Screen
- Select Use UTF8 as default server’s character set.

Figure 6. Select UTF8 Character Set
- Click Next. The following screen will display.
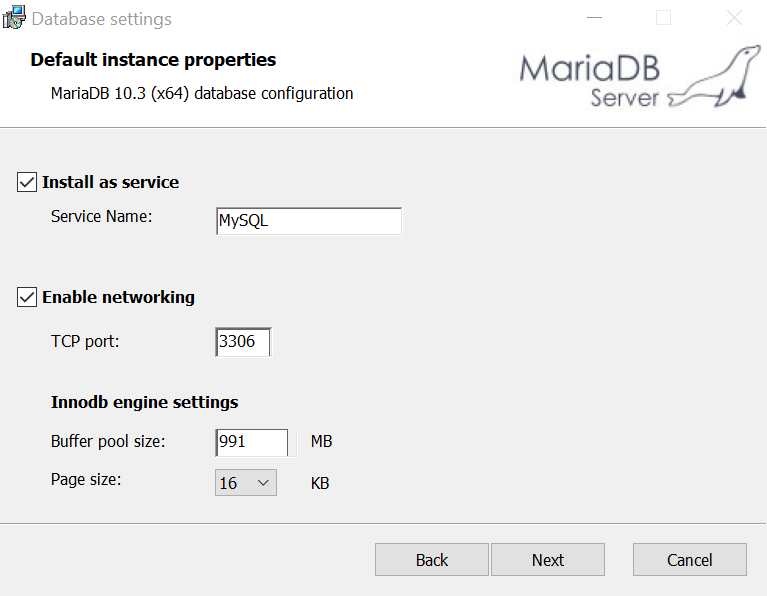
Figure 7. Default Instance Properties Screen
- Select Install as service and Enable networking. Fill in the fields for Service Name and TCP port.
- Click Next to proceed through the prompts until the following screen displays. Click Install to begin the installation.
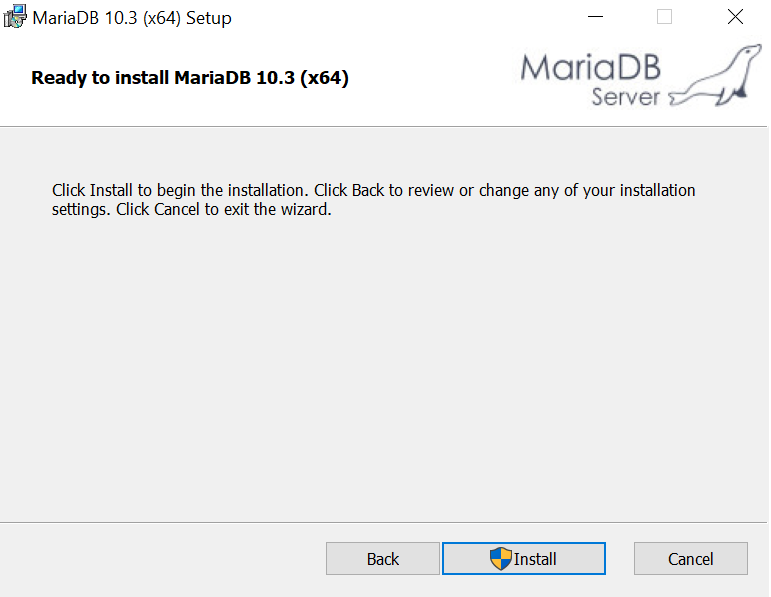
Figure 8. Ready to Install MariaDB Screen
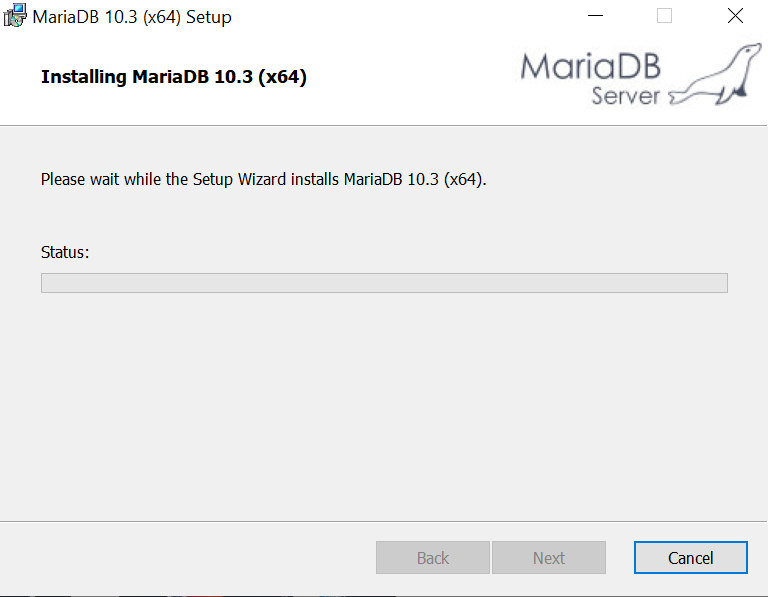
Figure 9. Installing MariaDB
- Once the installation is complete, click Finish to complete the installation and exit the Setup Wizard.
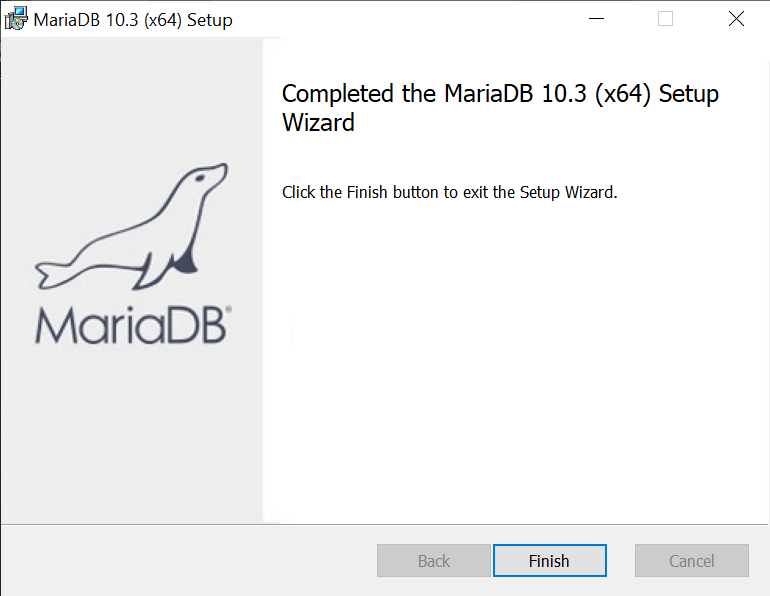
Figure 10. Setup Complete
You have successfully installed MariaDB for Windows. If you previously created a database backup, proceed to Restore Backup Files. Otherwise, return to the installation or upgrade guide for your version of Ephesoft Transact.
Restore Backup Files
If you previously performed the steps in Create a Database Backup, follow the instructions here to restore your MariaDB or MySQL data.
Important: You must perform this step, or your data will be lost.
- Ensure the original MariaDB or MySQL database is stopped and disabled, and the new MariaDB database is running.
- Restore the ephesoft, report, and report_archive databases from the database backup with the following command:
mysql.exe -u<root username> -p<root user password> -P<database server port> <Database name> < <Folder location>\database_backup.sql
Note: Code listed in angled brackets are placeholders. Replace the placeholders with the relevant information. For <Folder location> include the full folder path where the backup file will be created.
- Run the above command for the ephesoft, report, and report_archive backup files. Below are sample commands for each:
mysql -uroot -pPassw0rd -P3306 ephesoft < C:\dbdump\ephesoft_backup.sql
mysql -uroot -pPassw0rd -P3306 report < C:\dbdump\report_backup.sql
mysql -uroot -pPassw0rd -P3306 report_archive < C:\dbdump\report_archive_backup.sql
Note: Always restore and verify your data on your alternate MariaDB DBMS before considering de-provisioning an unused DBMS.
You have successfully restored your backup files.