Introduction
This document describes how to upgrade to Ephesoft Transact 2022.1.01 in the following environments:
- Environment types — single and multi-server
- Operating System — Windows®
Important: Steps unique to a multi-server upgrade are identified where applicable in this document.
Upgrade Overview
The process of upgrading to Ephesoft Transact 2022.1.01 follows this general sequence of tasks. Before proceeding, review the 2022.1.01 Release Notes.
| Installation Task | General Scope of Activity |
|---|---|
| Prerequisites | Prepare for upgrade by gathering the required resources and verifying that the environment and databases are supported. |
| Prepare the Server for Upgrade | Perform these steps to prepare the server for the upgrade Install Wizard. |
| Obtain and Launch the Install Wizard Package | Launch the 2022.1.01 Install Wizard with the Windows Command Prompt. Complete all settings and dialogs as prompted. |
| License and Launch Ephesoft Transact 2022.1.01 | Perform these steps to complete the upgrade for Ephesoft Transact 2022.1.01. |
Prerequisites
Perform these steps for a successful software upgrade and startup:
- Determine if you need to perform a single-server or multi-server upgrade. The upgrade requires approximately 10GB for disk space.
Important: Steps unique to a multi-server environment upgrade are identified where applicable throughout this document. Follow the instructions and adjust as necessary if upgrading on a multi-server environment. - Verify that the existing installation of Ephesoft Transact is supported for direct upgrade to Ephesoft Transact 2022.1.01.
- If the system is currently running Ephesoft Transact version 2022.1.00, your system is supported for direct upgrade to Ephesoft Transact 2022.1.01.
Note: After the upgrade, reinstallation is recommended for the AI Table Rule Builder and Cloud OCR (Advanced HOCR) plugins. - If the system is currently running a release prior to Ephesoft Transact 2022.1.00, you will need to upgrade to version 2022.1.00 before upgrading to Ephesoft Transact 2022.1.01.
Important: If you are required to perform an intermediate upgrade, then you must successfully start Ephesoft Transact 2022.1.00 before upgrading to version 2022.1.01 or the upgrade process will fail.
- If the system is currently running Ephesoft Transact version 2022.1.00, your system is supported for direct upgrade to Ephesoft Transact 2022.1.01.
- Refer to Platform Configuration and Third-Party Integrations and reference the 2022.1.00 and Above table to verify that Ephesoft Transact 2022.1.01 is supported on your operating system.
Installation Instructions
Prepare the Server for Upgrade
Perform these steps to prepare the server for an upgrade to Ephesoft Transact 2022.1.01:
- Stop Ephesoft Transact, whether running as an application or service:
- To stop Ephesoft Transact when running as an application, close the Java Console in which Ephesoft Transact is running (as shown in the screenshot below) by pressing CTRL + C.
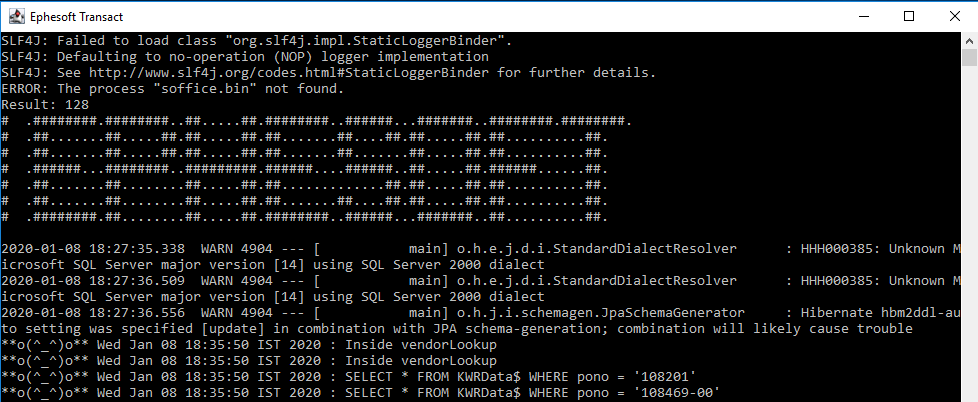
Figure 1. Ephesoft Transact Command Prompt - Open the Windows Task Manager and click End Task to terminate the following processes, if they were not terminated:
- soffice.exe
- soffice.bin
- To stop Ephesoft Transact when running as a service, perform these steps:
- To stop Ephesoft Transact when running as an application, close the Java Console in which Ephesoft Transact is running (as shown in the screenshot below) by pressing CTRL + C.
-
-
-
- In the Windows Control Panel, browse to Services > Desktop App.
- Right-click the Services utility and run as administrator. The Services (Local) screen displays. Scroll down to EphesoftTransact.
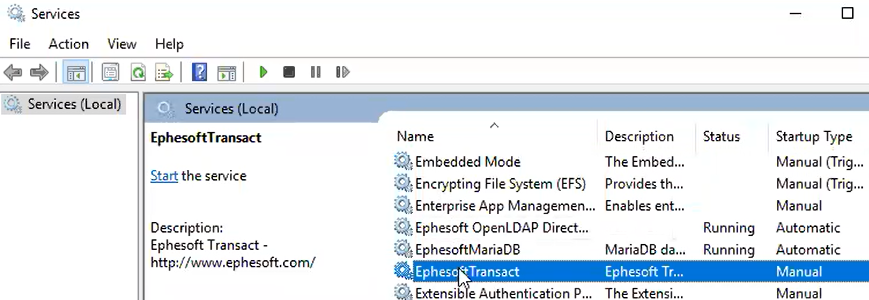
Figure 2. Sample Illustration of the Windows Services Utility - If the EphesoftTransact service is running, right-click EphesoftTransact, and click Stop. The service stops.
- Close the Windows Service Control utility.
-
- Close all open files inside the existing Ephesoft installation directory.
- Ensure that the target Windows installation drive has enough space for extraction of the installer setup file and the backup files that the installer will create. Depending on the size of the existing Ephesoft Transact instance, you may require 10GB of space for the installation.
- Log onto the Windows system and set the User Access Control (UAC) to Never notify. Do the following:
Important: This is a temporary setting, and you must re-enable UAC after completing the installation.- From the Windows Start menu, search for User Access Control or UAC. The Windows Control Panel displays the link. Click this link to display the page.

Figure 3. Change User Account Control settings in Windows Control Panel
The User Account Control Settings screen displays.

Figure 4. User Account Control Settings - If the security setting is closer to the Always notify part of the scale, adjust this setting to the lowest position (i.e., Never notify) as shown in figure 4. You will be prompted to confirm this setting.
- Accept the changes.
- From the Windows Start menu, search for User Access Control or UAC. The Windows Control Panel displays the link. Click this link to display the page.
-
- If you previously installed Ephesoft Transact using a Windows service account and you want to use that same account after the upgrade, ensure you know that account’s credentials (username and password) before starting the upgrade procedure.
You are now ready to obtain and launch the Install Wizard.
Obtain and Launch the Install Wizard Package
Perform these steps to download and launch the Ephesoft Transact Install Wizard:
- Refer to the Downloads page for information on how to obtain the Ephesoft Transact installer.
- Download the Ephesoft Transact Installer. This is a zipped file with the following filename: Ephesoft_Transact_<Version Number>_Windows.zip
- Extract all contents of the zip file to a temporary location. To extract the file, right-click the file, and from the pop-up menu, click Extract All.
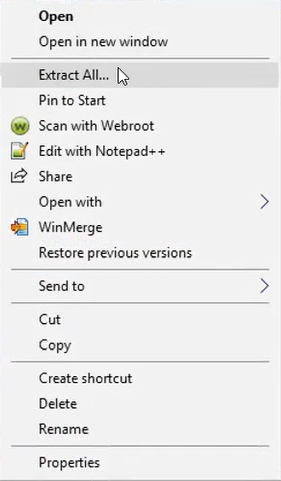
Figure 5. Click Extract All
Important: You must extract all elements of the installer package. The following figure illustrates the contents of the extracted installer package:
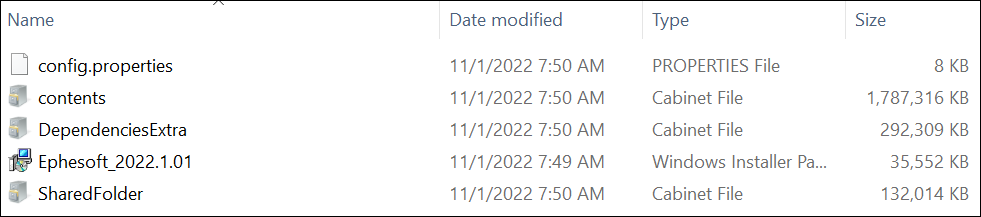
Figure 6. Installer Package Contents - If you are logged in as the Administrator, right-click Ephesoft_2022.1.01 and click Install. Otherwise, open the Windows Command Prompt as an Administrator. Navigate to the directory where you extracted the installer zip file, then execute the following command to download the Windows installer package:
msiexec.exe /i Ephesoft_2022.1.01.msi - After you launch the Windows installer package, the Ephesoft Transact 2022.1.01 Setup screen appears. The Next button will be disabled while the installer determines if there is enough disk space to install the software.
Note: As a reminder, you will need approximately 10GB of disk space for the upgrade. If you need to make space available for the upgrade, remove any files and apps that you no longer need.
If there is sufficient disk space, the Ephesoft Transact 2022.1.00 Setup screen will refresh and the Next button will be enabled. Click Next.
.
Figure 7. The Ephesoft Transact 2020.1 Setup Screen - The End-User License Agreement displays.
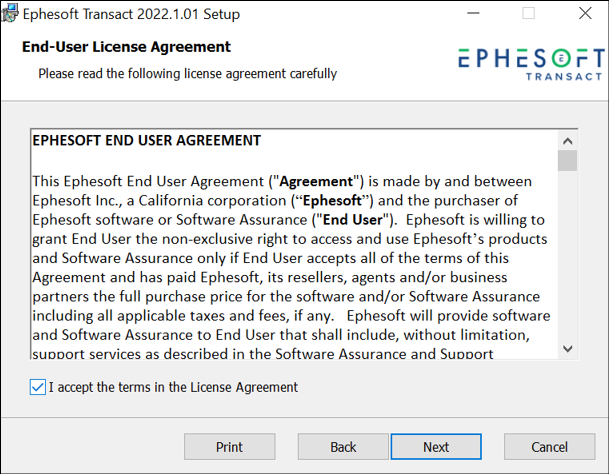
Figure 8. End-User License Agreement
Read the end-user license agreement to be aware of any changes, select the check box to accept the terms, and click Next to continue.
Note: When upgrading and launching the installer for the first time, Windows may report the installer as Not Responding on the End User License Agreement screen. Do not cancel the installation, the installer is performing upgrade checks and it will resume (~5 minutes).
- The Ephesoft Prerequisites Check displays.
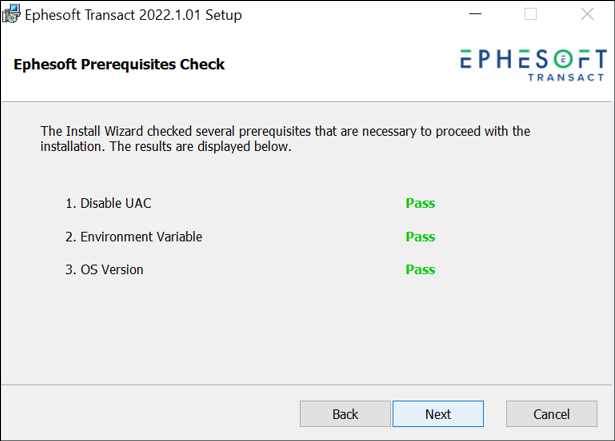
Figure 9. Ephesoft Prerequisites Check
Note: The Install Wizard may take several minutes to perform these prerequisite checks. If a warning displays in the above screen, click Details for more information.
The following is an example of this type of message:
“JAVA_HOME environment variable is already defined. This will get modified during Transact installation. If you do not want this to happen, please cancel the installation.”
Click Next when the prerequisites check is acceptable. Continue to .NET Framework 4.5.2 Installation.
.NET Framework 4.5.2 Installation
- Ephesoft Transact performs a check to verify that the .NET Framework 4.5.2 is installed.
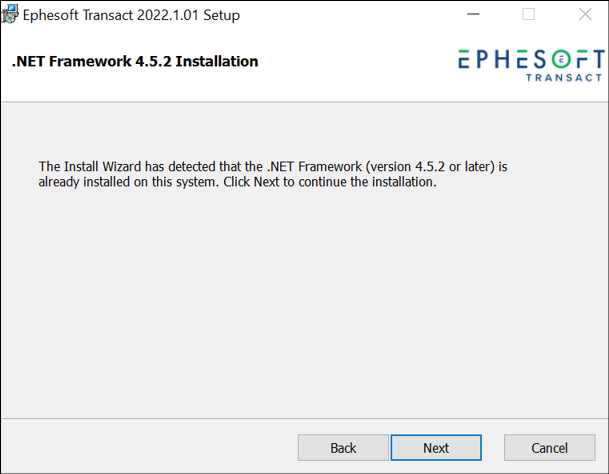
Figure 10. .NET Framework 4.5.2 Installation
Note: The following factors enable or disable the Next button:- The Next button is enabled if the .NET Framework 4.5.2 is installed on the system.
- The Next button is disabled if the .NET Framework 4.5.2 is not installed on the system. A Download button will display. Follow these steps:
- Click Download and go to the appropriate link.
- Download and install the .NET 4.5.2 Framework.
- Follow the instructions in the .NET 4.5.2 Framework installer to complete the installation.
Once you have completed the installation of .NET 4.5.2 Framework, continue to the next step.
- Click Next. The Install Wizard performs a check of Microsoft® Visual C++ Redistributables.
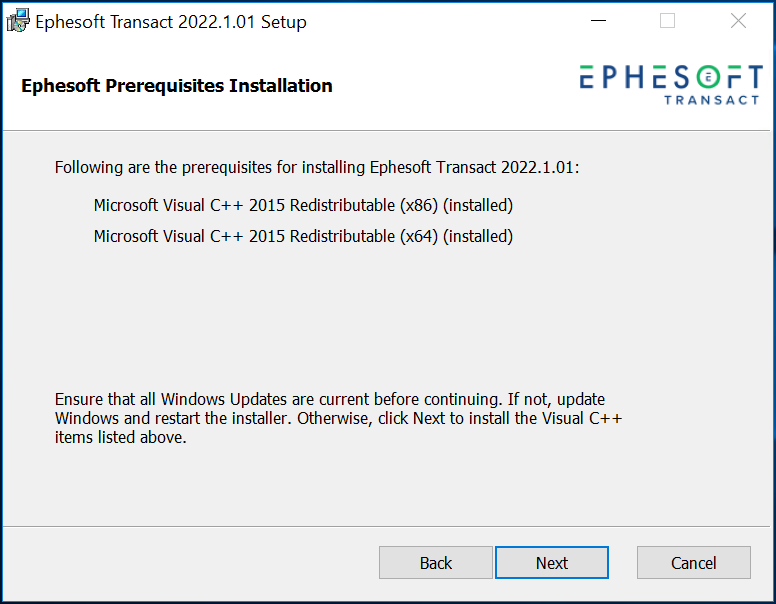
Figure 11. Ephesoft Prerequisites Installation
Note: The Install Wizard may display the following message: “Transact prerequisites are being installed in the background.” Allow time for the background configuration processes to complete. Continue to Define Service Credentials.
Configure Service Credentials and Database
If you are running the Ephesoft Transact Server as a Windows service, the Install Wizard prompts you to choose which service account to use. It is recommended to use the same Windows account that was used to install your previous version of Ephesoft Transact. Choose the account that complies with your organization’s security policy.
- In most cases, users select Local System Account.
- To use another existing account, select This Account and enter the username and password for an account that has full access permissions to the network SharedFolders path.
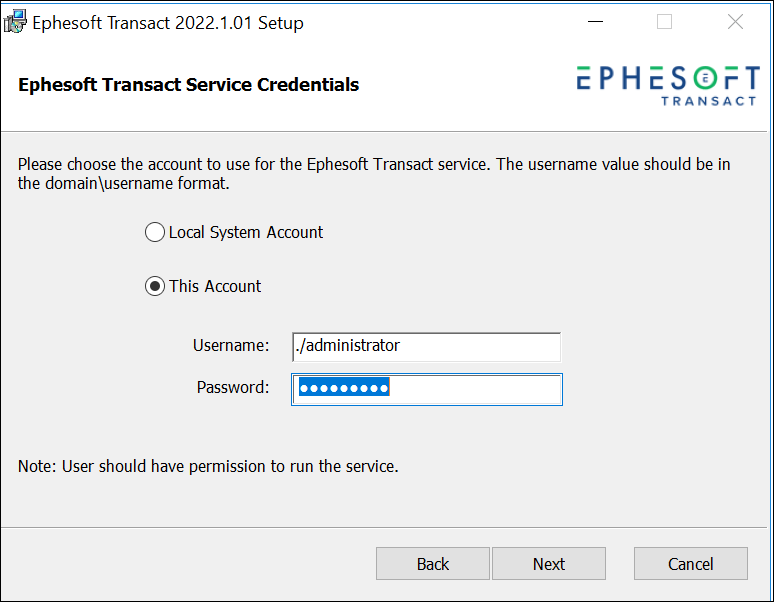
Figure 12. Service Credentials and Account Selection
Note: Use this option with a Windows service account that has access to the SharedFolders component, whether locally or remote. Ephesoft recommends configuring SharedFolders on a network location for future growth and scalability. To proceed, enter the username and password for an account that has full access permissions to the network SharedFolders path. - Click Next. The Ephesoft Upgrade Installation screen displays.
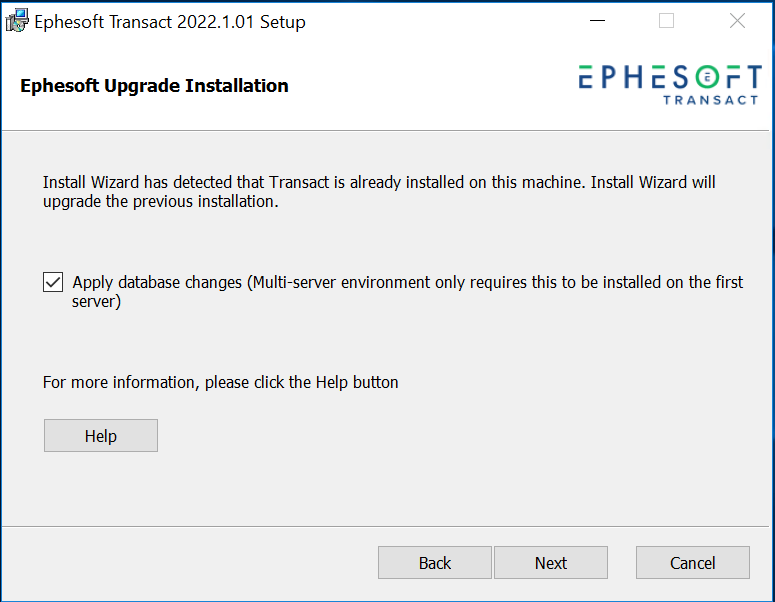
Figure 13. Ephesoft Upgrade Installation Dialog for Database Changes - The following steps vary depending on a single or multi-server upgrade.
- Check the Apply database changes check box if you are upgrading a single-server environment, or if you are upgrading the first server in a multi-server environment.
- Do not check the Apply database changes checkbox if you have already upgraded the first server in your multi-server installation and are now upgrading a subsequent server.
- Click Next.
The Install Wizard will check if you have enough disk space for the upgrade installation. If your server does not have enough space, the following message displays:
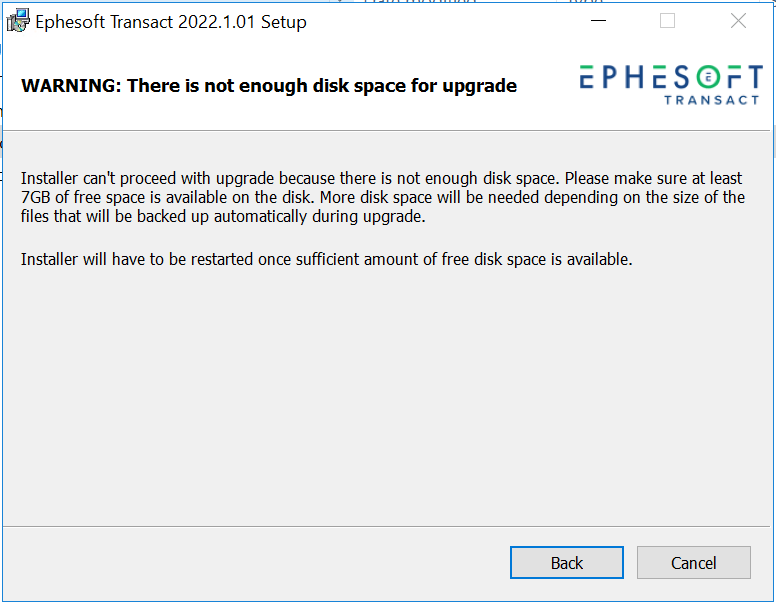
Figure 14. Disk Space Warning
If you see this message, click Cancel to exit the Install Wizard. Clear the appropriate amount of disk space and restart the Install Wizard.
The Database Backup screen displays.
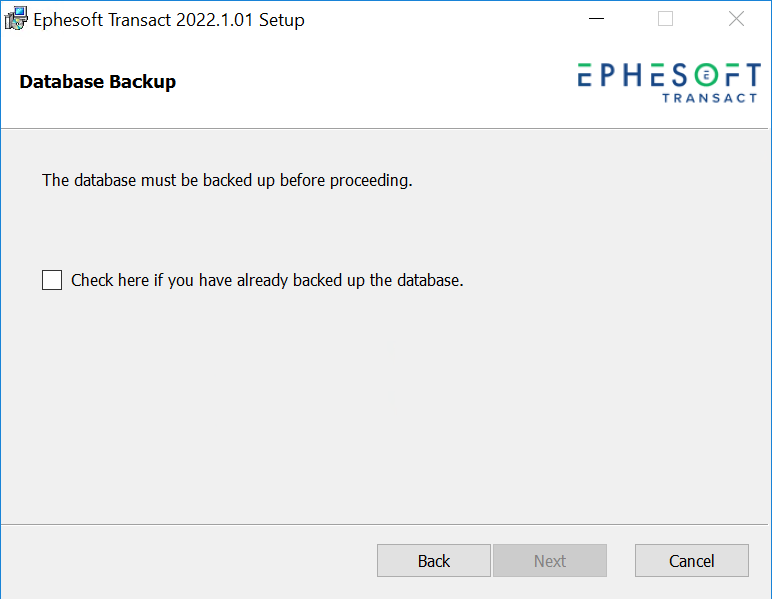
Figure 15. Database Backup Screen - Select the check box if you have backed up the database and click Next.
Note: This message displays if Ephesoft Transact files or folders are in use:
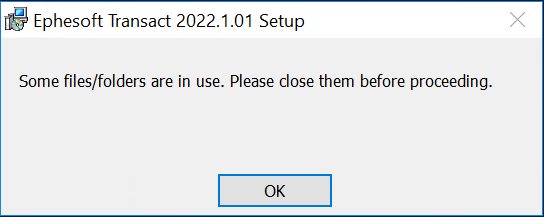
Figure 16. Setup Dialog to Close Open Files/Folders
If you see this message, close any open files or folders in the Ephesoft Transact installation area, then click OK to return to the previous Install Wizard screen and click Next.
Note: This message displays if an issue occurred upon executing the database patch:
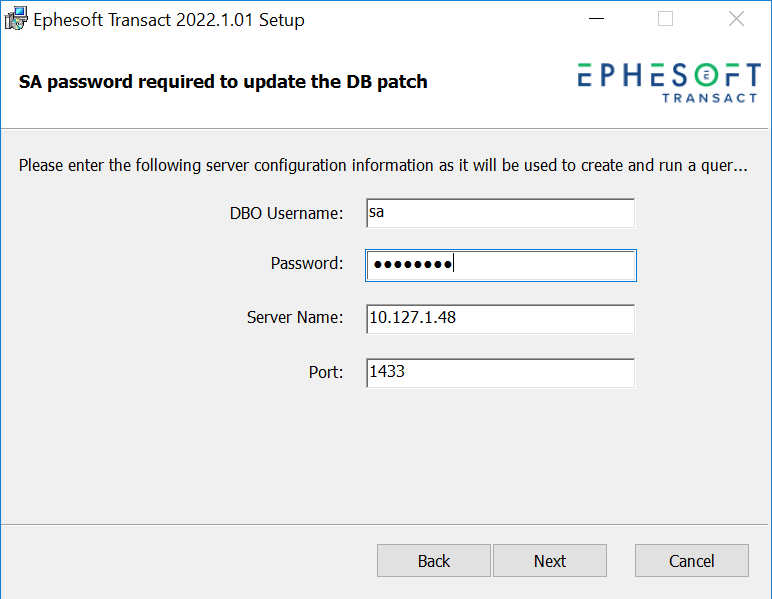
Figure 17. Provide SA Password
Refer to Transact Upgrade Stops When Upgrading to 2020.1.03 or Above with MSSQL Server and Windows Authentication to resolve the issue.
If you don’t receive any warnings, the installer is ready to perform the upgrade. Click Next to continue the upgrade.
Run and Finish the Install Wizard
The Ready to Install screen displays after you have completed the database backup.
Note: If needed, click Back to adjust your configurations in previous screens.
- Click Install.
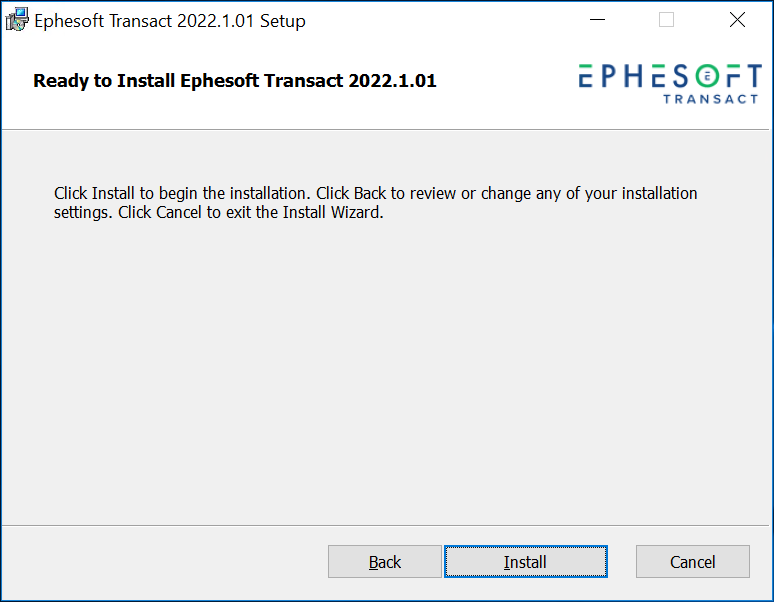
Figure 18. Ready to Install Screen
A Status bar displays the installation’s progress.
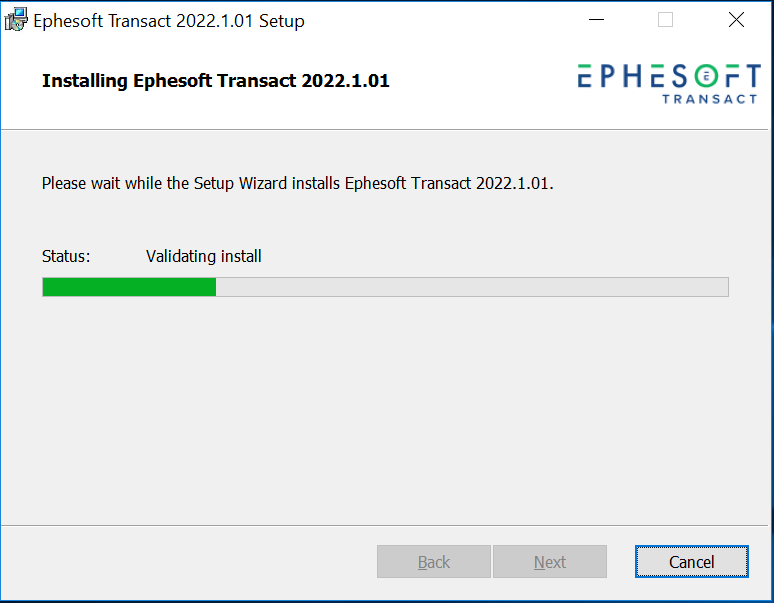
Figure 19. Status Bar of the Install Wizard Progress
Note: This may take some time.Once the upgrade is completed, the Post-Installation Instructions screen displays.
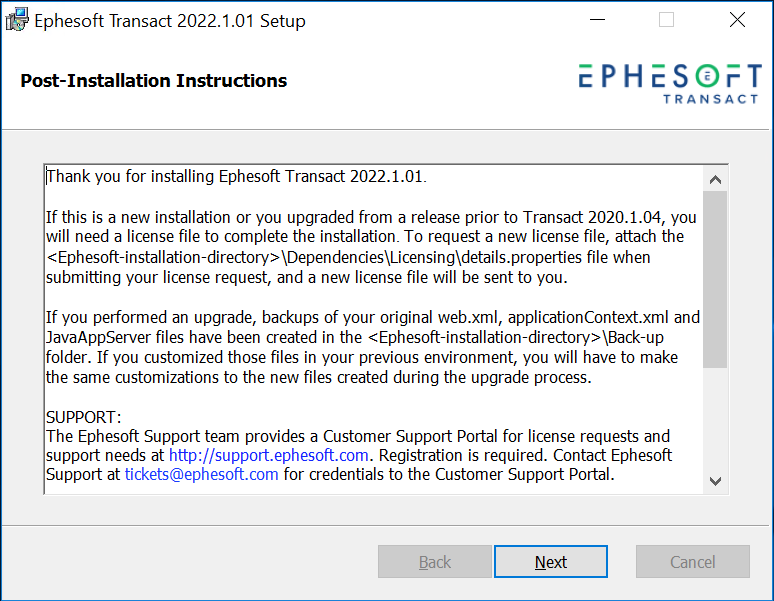
Figure 20. Post-Installation Instructions and License Information - Read the post-installation instructions and perform the necessary tasks, then click Next. The following screen displays to confirm that the upgrade is complete.
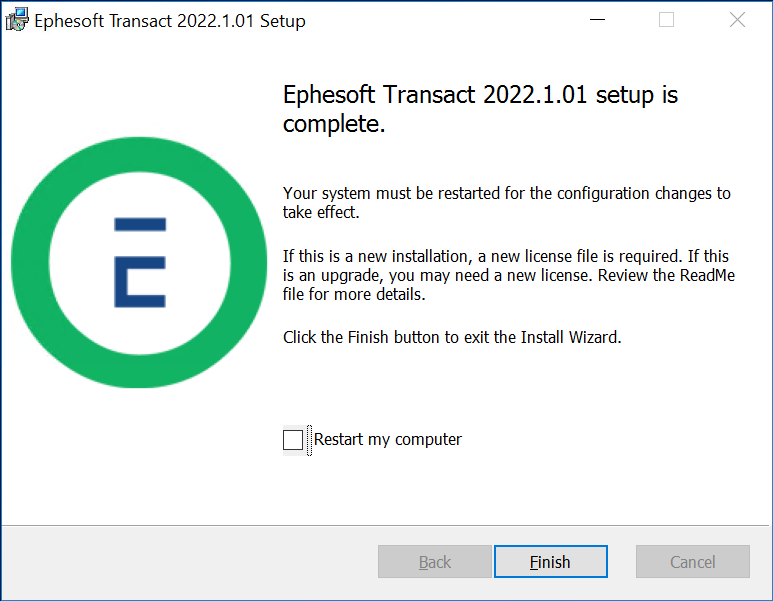
Figure 21. Ephesoft Transact 2020.1 Setup is Complete Screen - Select Restart my computer.Important: A restart is required for Ephesoft Transact to function properly.
- Click Finish.
- When the upgrade installation is complete, re-enable User Access Control (UAC) on this server.
Important: This was a temporary setting required when running the Install Wizard in a previous task. This procedure re-activates UAC after installation.- From the Windows Start menu, select the User Access Control settings. The Windows Control Panel displays a link. Click this link to display the page.
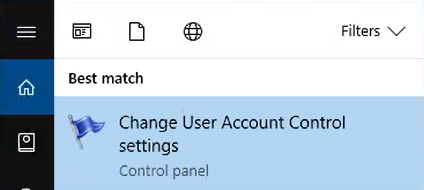
Figure 22. Change User Account Control settings in Windows Control Panel
The User Account Control Settings screen displays.
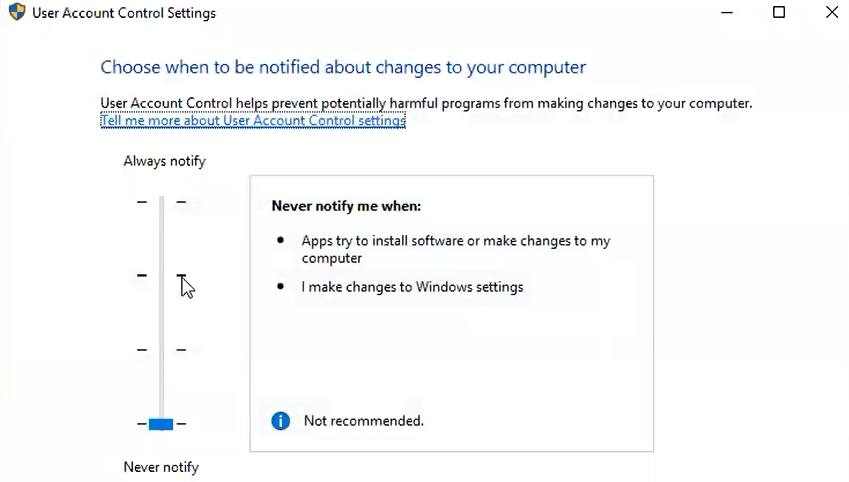
Figure 23. User Account Control Settings - Adjust this setting to the desired position for normal operations. Your setting may differ from the illustration shown above. The system prompts you to confirm this setting. Accept the changes.
- From the Windows Start menu, select the User Access Control settings. The Windows Control Panel displays a link. Click this link to display the page.
This completes your upgrade. Continue to License and Launch Ephesoft Transact.
License and Launch Ephesoft Transact
- To complete the upgrade, refer to Licensing Requirements.Note: If this is a new installation or you upgraded from a release prior to Transact 2020.1.04, you will need a license file to complete the installation.Important: Ephesoft recommends restarting the service after your license registry is updated.
- Compare the post-upgrade properties files against the pre-upgrade properties files. You must match the configuration settings of the post-upgrade property files to the pre-upgrade property files.Note: Prior to installing the upgrade, the upgrade Install Wizard creates a backup folder to store the pre-upgrade configuration settings and components.
- Use the Winmerge tool to compare and merge the pre-upgrade configurations into the post-upgrade configurations. Original configuration files are backed up on the same server. You can navigate to the Ephesoft Install Directory and find the backup folder of your previously installed version of Ephesoft Transact to get access to your old configuration files and settings. Properties, files settings, or components that are unique to each deployment can include the following:
- Computer names
- Database paths
- HTTPS settings (as applicable)
- ImageMagick settings (as applicable)
- JavaAppServer settings
- Keystore location settings
- Registry settings
- Single Sign On (SSO) configurations
- User connectivity settings for Active Directory, Apache Tomcat or LDAP
Refer to Folders where Customer-specific Data is Stored for additional information.
- Start the Ephesoft Transact service from the Windows Services interface. This initiates the post-upgrade process.
Note: You may choose to change the Startup Type option to Automatic so that Ephesoft Transact will start automatically whenever the server reboots in the future.
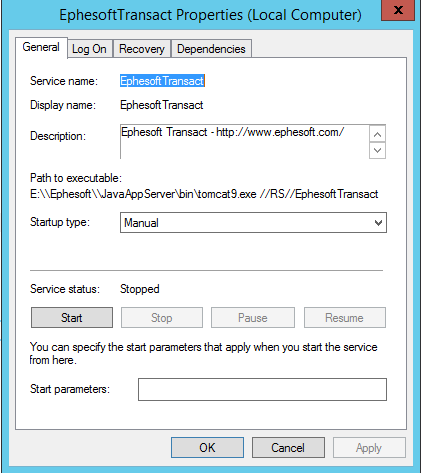
Figure 24. General tab for Ephesoft Transact Properties
Note: The first startup after the post-upgrade process performs updates to the database, batch classes and other Ephesoft Transact elements.
- Use the Winmerge tool to compare and merge the pre-upgrade configurations into the post-upgrade configurations. Original configuration files are backed up on the same server. You can navigate to the Ephesoft Install Directory and find the backup folder of your previously installed version of Ephesoft Transact to get access to your old configuration files and settings. Properties, files settings, or components that are unique to each deployment can include the following:
After starting the Ephesoft Transact service, you are ready to launch Ephesoft Transact. Follow the steps below:
- Open a web browser
- Enter the following Ephesoft Transact URL: http://<server_name>:8080/dcma/home.htmlNote: Allow time for the background configuration processes to complete. The initial startup may require several minutes.The Ephesoft Transact home page displays.
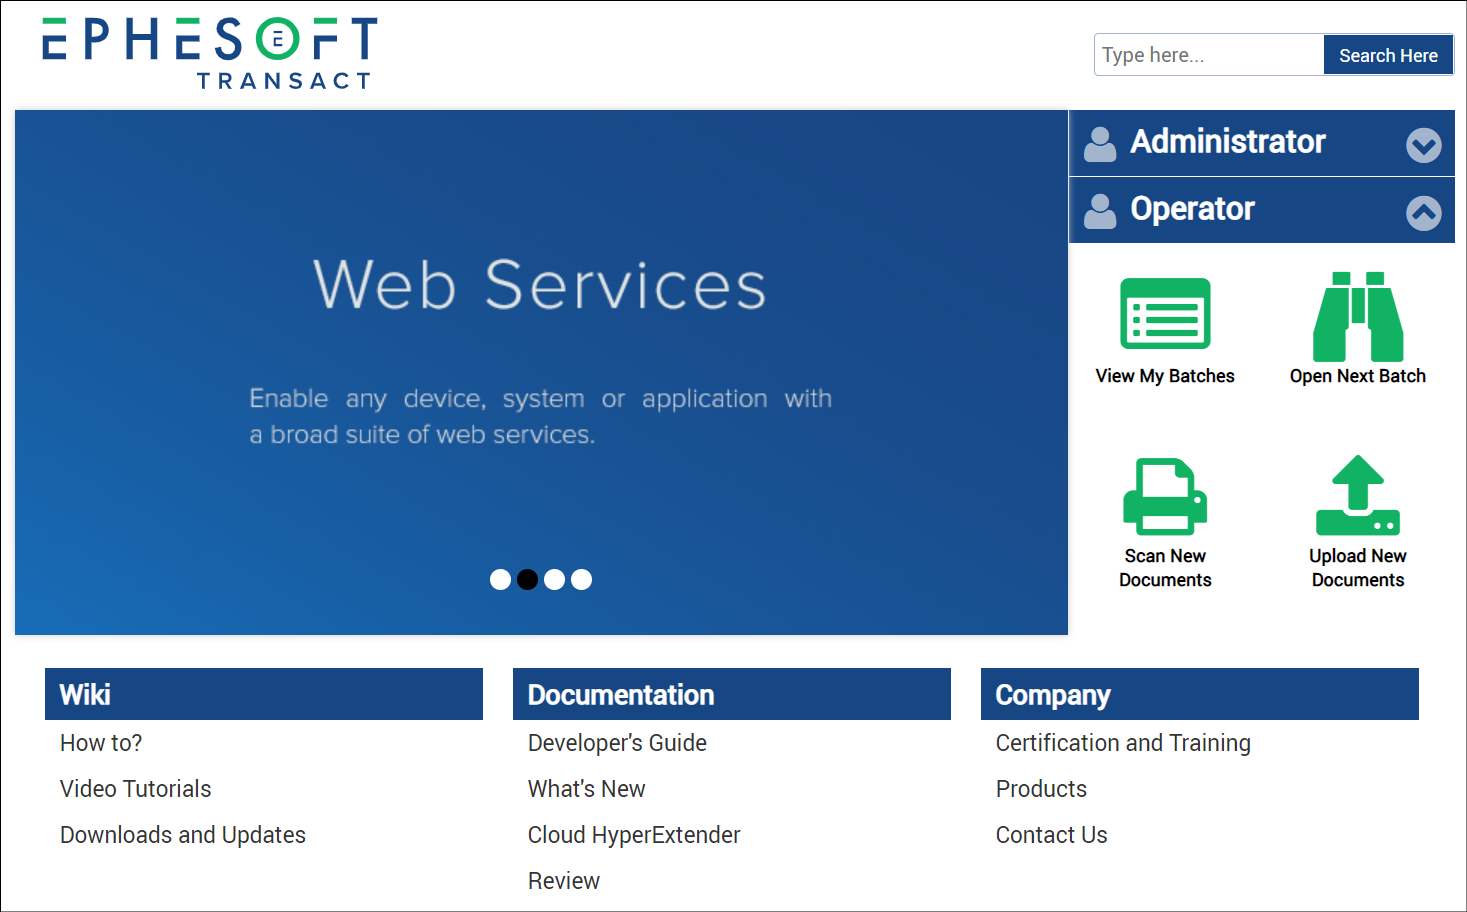
Figure 25. Ephesoft Transact Home Screen - Select Administrator or Operator to log in.
- Enter the username and password.

Figure 26. Login Screen