Applies to: Fresh installation of Ephesoft Transact 2020.1.02 or above using LDAP.
Introduction
This document is a guide for installing OpenLDAP separately from Ephesoft Transact.
Background
Several Microsoft Visual C++ Redistributables were removed from the installer, as they were either at end of life (EOL) or posed security risks. This includes:
- Microsoft Visual C++ 2008
- Microsoft Visual C++ 2010
- Microsoft Visual C++ 2013
The OpenLDAP setup previously supplied with Ephesoft Transact had a dependency on Microsoft Visual C++ Runtime 2010 (VCRT). Separate installation is required for this scenario if you are not able to install VCRT 2010.
Note: VCRT 2012 may still be required to run LDAP, however, we have observed no issues with a fresh installation on Windows 2016 with only VCRT 2015 installed.
Prerequisites
- Ephesoft Transact is installed with LDAP selected as the connection type.
- The existing LDAP service deployed with Ephesoft Transact is stopped and set to not auto-start.
Installation
Perform the following steps to install the OpenLDAP service.
- Download the OpenLDAPforWindows_x64.zip file from MaxCRC.
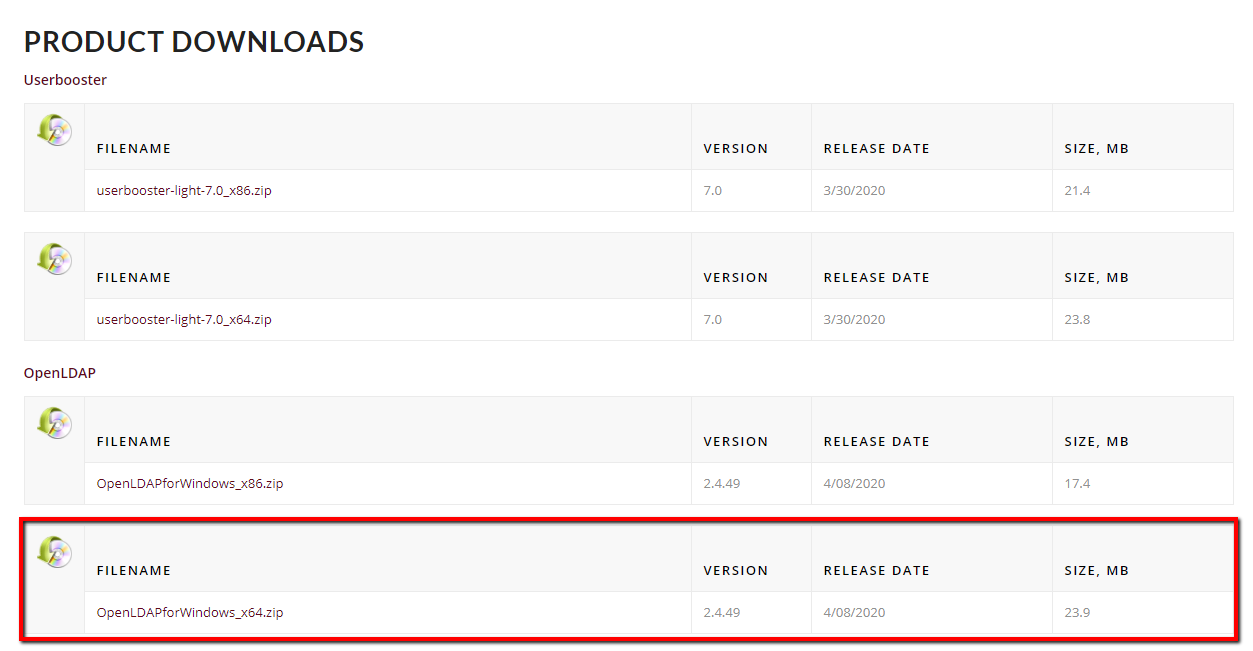
Figure 1. Download OpenLDAP File
- Extract the contents from the OpenLDAPforWindows_x64.zip file to a temporary folder.
- Execute the OpenLDAPforWindows_x64.exe file from the temporary folder.
- If you are presented with the following security warning, click Run.
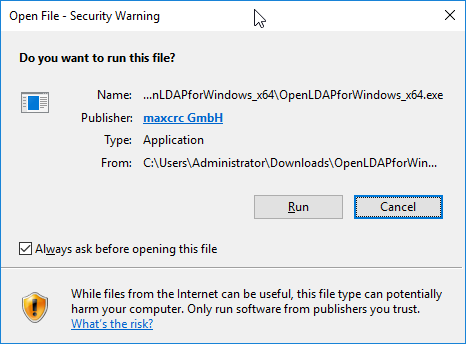
Figure 2. Security Warning
- The OpenLDAP Installation screen will display. Click Yes.

Figure 3. OpenLDAP Installation Screen
- The Installation Wizard will launch, and the following screen will display. Click Next (》).
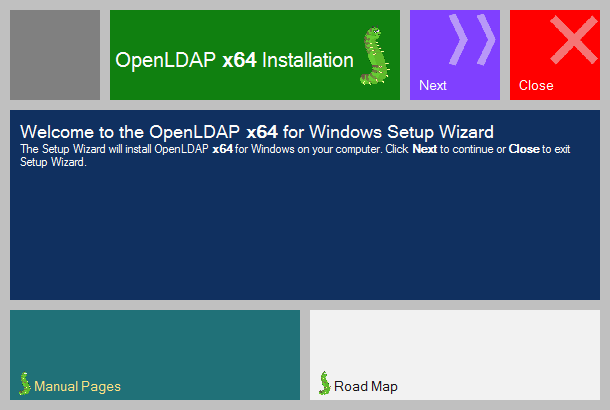
Figure 4. Welcome Screen
- Read through the End User License Agreement (EULA). Select the checkbox labeled “I accept terms of the License Agreement”.
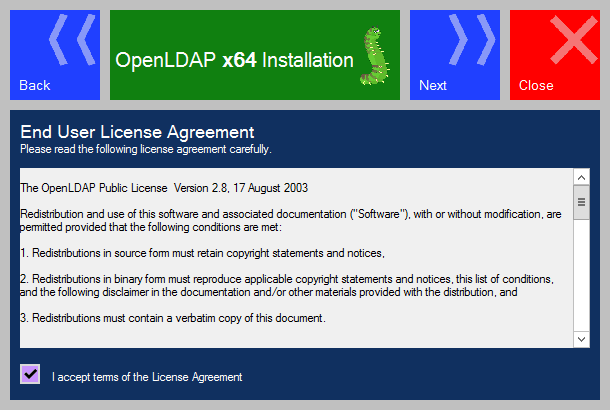
Figure 5. EULA Screen
- Click Next (》).
- Select the destination folder where OpenLDAP will be installed.

Figure 6. Destination Folder Screen
- Click Next (》).
The Customize Setup screen will display:
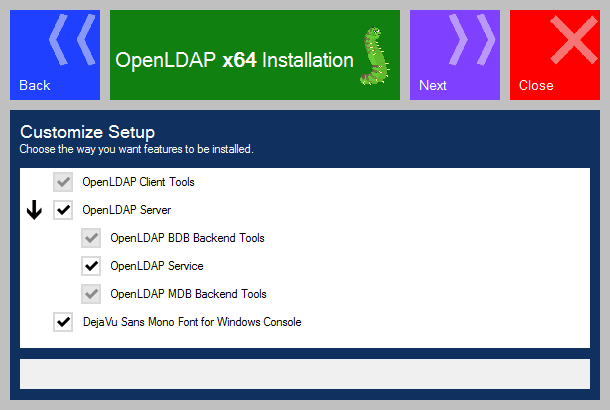
Figure 7. Customize Setup Screen
Note: By default, all options will be selected. We recommend using this default setup.
- Click Next (》).
- On the Additional Settings screen, provide the Server name / IP Address.
Note: If you are installing OpenLDAP on a single-server test environment, set this to localhost. Otherwise, provide your server name or IP address.
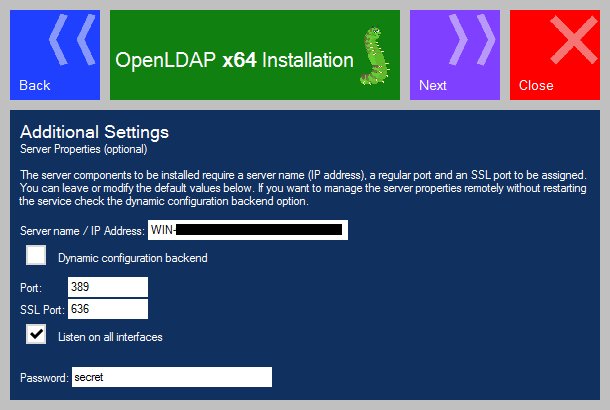
Figure 8. Additional Settings Screen
- Leave the remaining settings with the default options (recommended) and click Next (》).
- On the Database backend screen, select BDB.
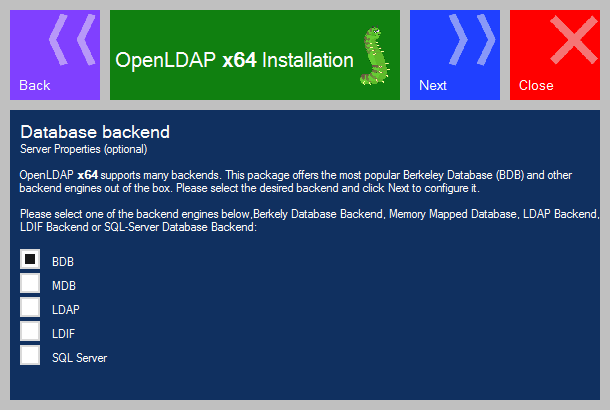
Figure 9. Database Backend Screen
- Click Next (》).
- On the BDB backend settings screen, leave the default options as is (recommended).
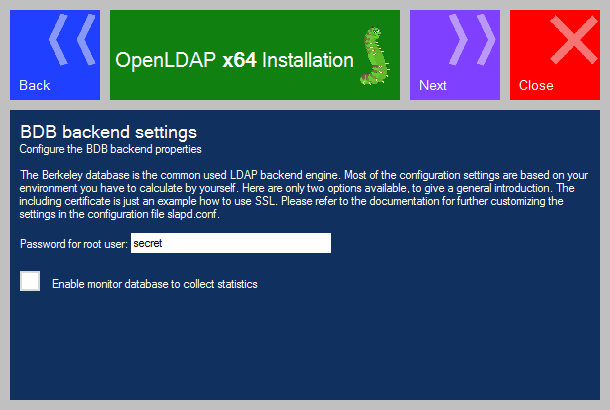
Figure 10. BDB Backend Settings Screen
- Click Next (》).
- Click Install (▶) to begin the installation.
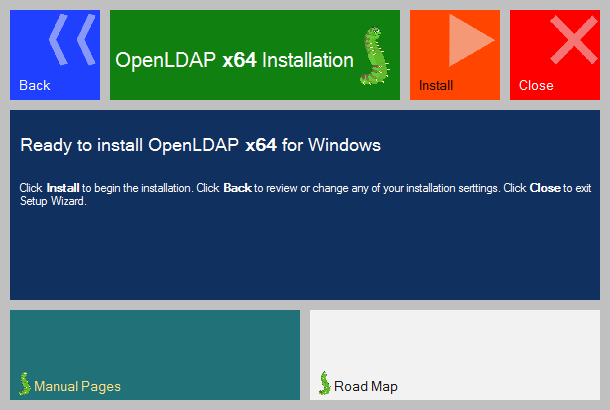
Figure 11. Start Installation
The following screen will display while the installation is in progress:
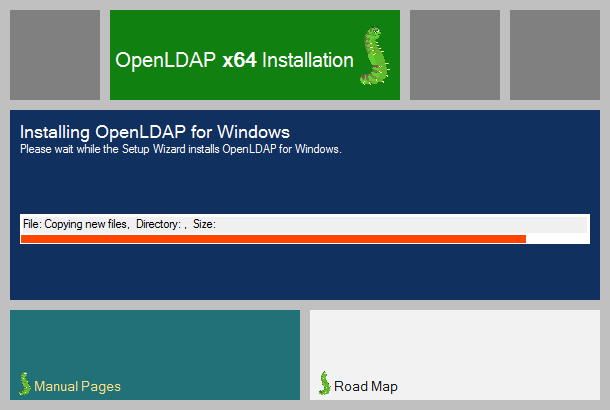
Figure 11. Installation Progress
Once the installation is complete, the following screen will appear:
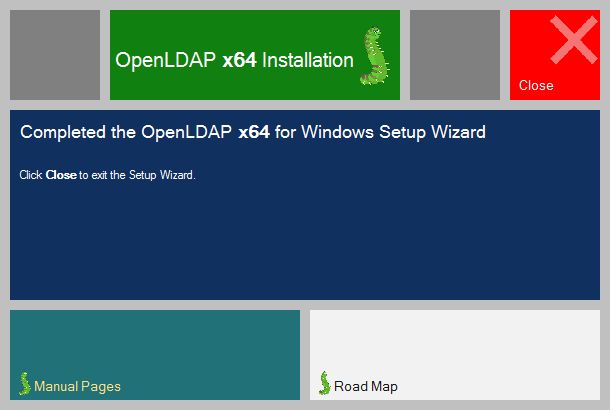
Figure 12. Installation Complete
- Click Close (X) to close the installation wizard.
Post-Installation
After successfully completing the installation, the following steps must be performed before OpenLDAP can be used with Ephesoft Transact. This will set up default Ephesoft users and groups.
Prepare for Import
- From the Windows Start menu, open Services.
- Locate the OpenLDAP service.
- If the service displays as Running in the Status column, right-click OpenLDAP and select Stop.
Wait while the Service Control stops the service.

Figure 13. Stopping Service
Note: Leave the Services window open, we will return to it to restart the service.
- Open the installation folder specified in step 9 above.
- Create a new folder within the installation folder named “BACKUP”.
- Move the following from the installation folder to the BACKUP folder.
- secure folder
- slapd.conf file
- Copy the following from the OpenLDAP2.4 folder (located at [Ephesoft_Directory]\Dependencies) to the new installation folder:
- secure folder
- slapd.conf file
- Return to the Services window.
- Locate the OpenLDAP service.
- Right-click OpenLDAP and select Start.
Wait while the Service Control starts the service.
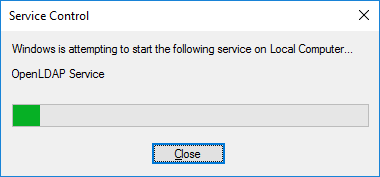
Figure 14. Starting Service
- Close the Services window.
Import Ephesoft Configuration
- Download the Ephesoft-OpenLDAP.ldif file and place it in a temporary folder.
- Open the jxplorer-3.2.1 folder, located at [Ephesoft_Directory]\Dependencies\OpenLDAP2.4\ldap-client.
- Execute the jxplorer.bat file.
The JXplorer application will start:
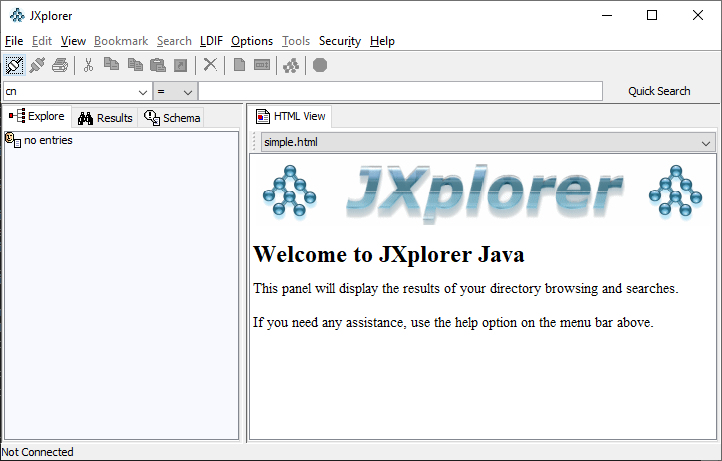
Figure 15. JXplorer
- Go to File > Connect.
The Open LDAP/DSML Connection menu will open:
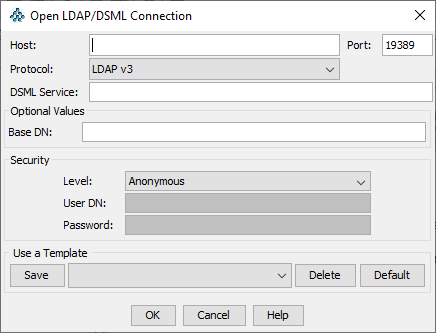
Figure 16. OpenLDAP/DSML Connection Menu
- In the bottom section labeled Use a Template, select ephesoft from the dropdown menu.
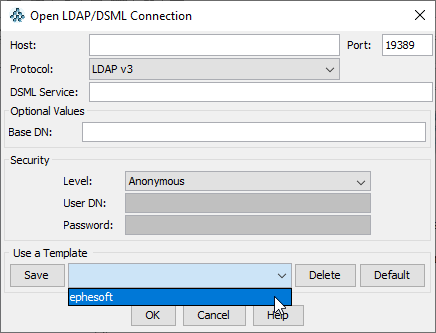
Figure 17. Use a Template
This will populate all fields required to connect except the Password.
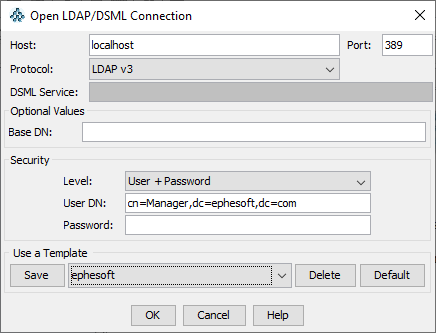
Figure 18. Template Applied
- Provide the password from step 13 of the installation and click OK.
Note: The default password is “secret”.
- You may encounter the following error messages (in no particular order):
- “unable to list dc=ephesoft,dc=com”
- “unable to list dc=com”
- “unable to perform Read entry operation”
This is because the client tool did not expect the top-level domains to be empty placeholders. It’s fine to ignore these, click OK to dismiss any errors.
- The directory tree in the left panel will now show the empty ephesoft domain name:
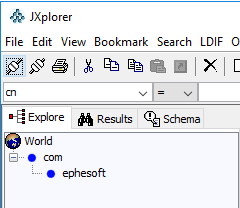
Figure 19. Ephesoft Domain
- From the menu, select LDIF > Import File.
You will be prompted to select your import file.
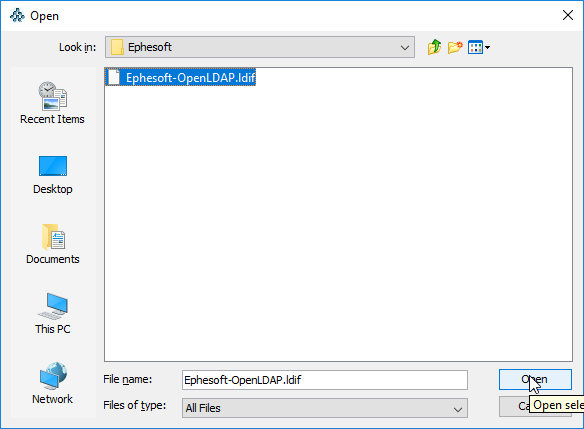
Figure 20. Select Import File
- Locate the Ephesoft-OpenLDAP.ldif file and click Open.
Note: You may see a few error messages similar to those listed in step 7. Click OK to dismiss any errors.
- From the menu, select File > Disconnect. This will disconnect the client application from the server.
- Go to File > Connect. The Open LDAP/DSML Connection window will display, however now the fields should be automatically populated.
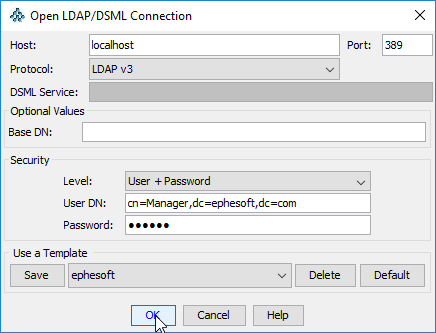
Figure 21. Reconnect to Server
- Click OK. This will establish a connection with the LDAP server and update the directory tree.
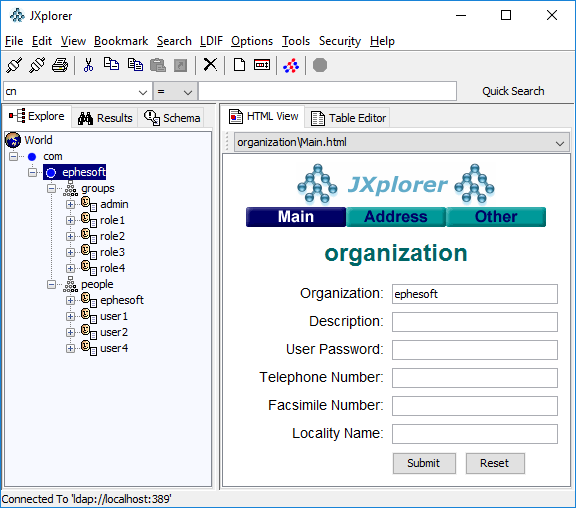
Figure 22. Connection Established
Conclusion
This completes the overview of installing OpenLDAP separately from Ephesoft Transact 2020.1.02 or above.