Revision 2 — March 12, 2020
Steps of execution
1. Do not run the sudo yum update (RHEL/CentOS) or sudo apt-get update && sudo apt-get upgrade (Ubuntu) command, as this will take the operating system to an unsupported version. Refer to Platform Configurations and Third-Party Integrations 4.5.0.0 for more information on supported versions.
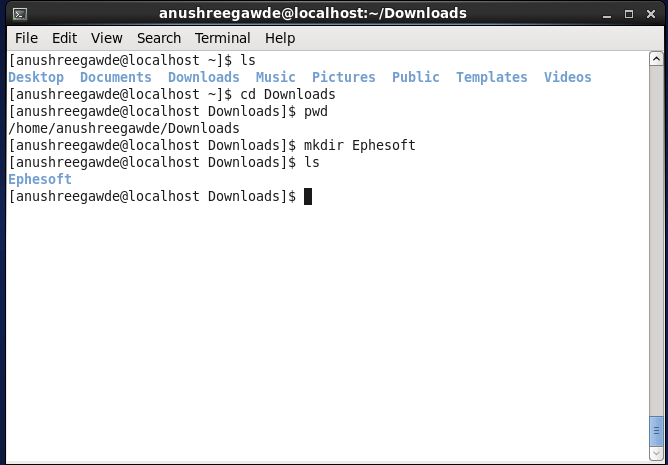
2. Make a directory for the Ephesoft install files.
This example uses the following directory: /home/user/Downloads/Ephesoft
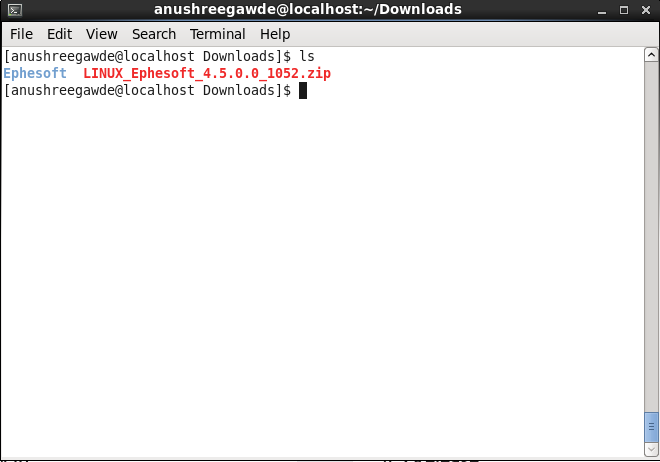
3. Download the zip file for the installer. Extract the files from the Ephesoft_linux.zip to this folder:
- unzip Ephesoft_linux.zip -d ~/Downloads/Ephesoft
If unzip is not installed, use one of these commands
- RHEL/CentOS: sudo yum install unzip
- Ubuntu: sudo apt-get install unzip

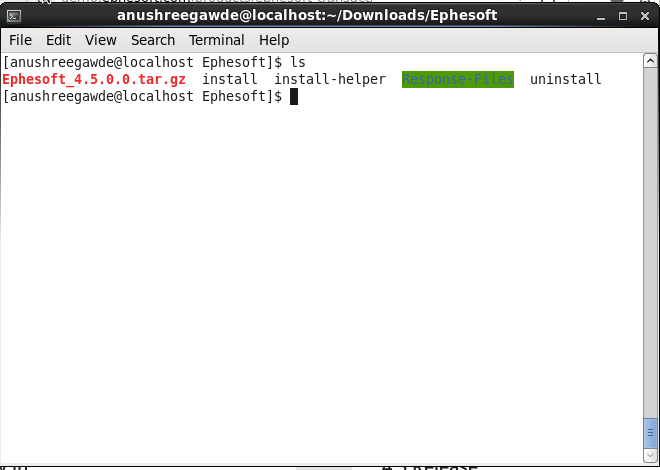
4. Navigate to the directory where you have unzipped Ephesoft installer
- cd ~/Downloads/Ephesoft
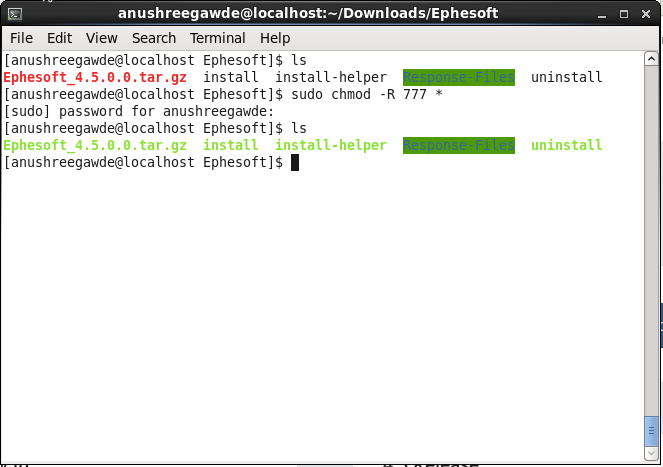
5. Make all files in the directory executable using this command:
- sudo chmod -R 777 *
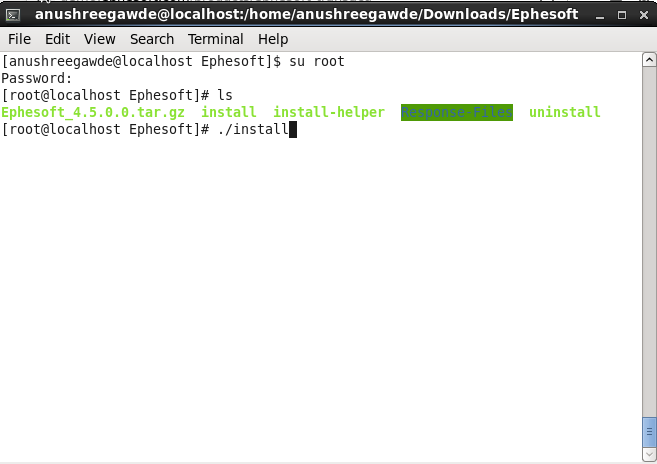
6. Change to root user for installation:
- su root
- Enter password
- If you have not set a root password, do that now.
- Always talk to your system administrator before doing this.
- sudo passwd
- Enter password twice
Execute the Installer:
- ./install
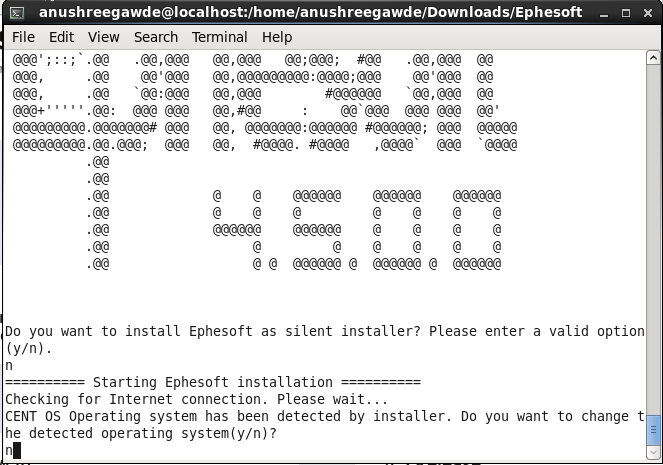
7. The installer will ask if your distribution is RHEL, CENTOS or Ubuntu.
- Press enter if it is correct (this demo is with Centos so it is correct).
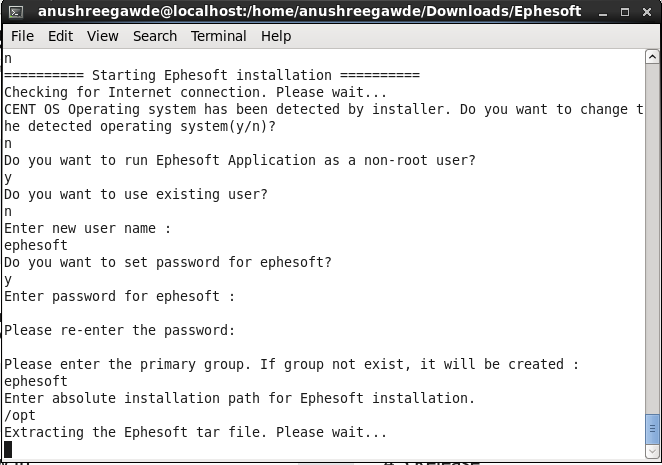
8. Enter the path where you would like to install Ephesoft:
- /opt is the common directory in which to install third party applications
- /opt is our recommendation
- NEVER install Ephesoft in the /home directory for a user or in the /root, /bin, /etc, /sbin, /usr, or /boot directories.
9. Ephesoft will move the installation files to the target directory. The installer will then ask if you want to use an existing SharedFolders directory. This is for multiserver installs and requires the SharedFolders already be installed from another install of the same version of Ephesoft.
The installer will now ask where you would like the SharedFolders installed. If you would like to designate another folder, answer y here and you will be asked where you would like it installed. Otherwise leave n and click Enter.
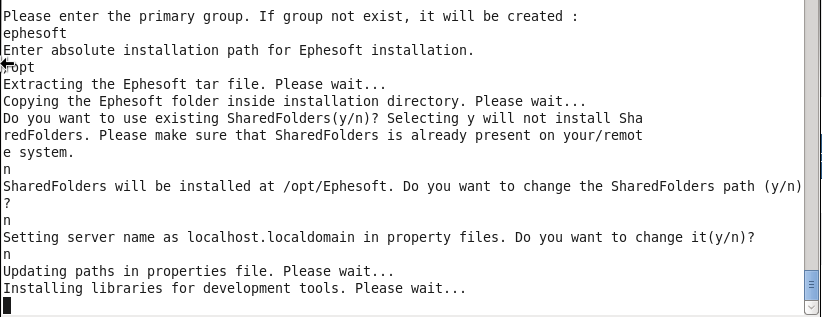
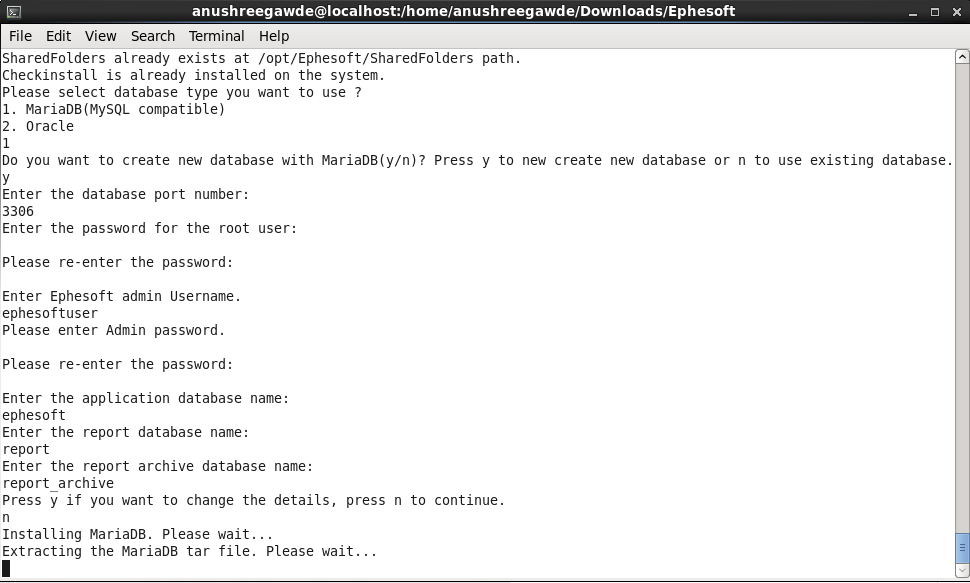
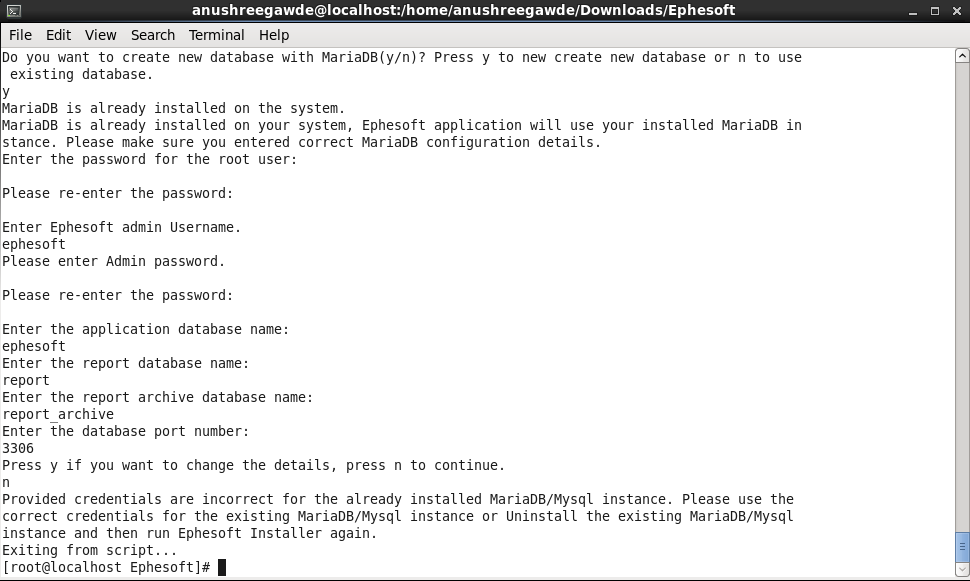
10. Ephesoft for Linux is only available with MySQL instances. You will now be asked if you would like to install a new MySQL instance. Use the default setting here unless this is a multiserver installation.
11. You will be asked which database port to use. For a standard install, use the default.
You will be asked to enter a password for the root user. This is for the root user of the MySQL instance. Write this down as it cannot be changed after created.
You will be asked for the database names, ephesoft and report and report_archive. Press enter through all of these and do not change the names of the databases.
The installer will check to see if you want to change any of the MySQL settings. Press Enter to use the default value of n. Make sure to only include alphanumeric characters while writing the name of Application DB when using the existing database instance. Use of special characters should be avoided, except _ .
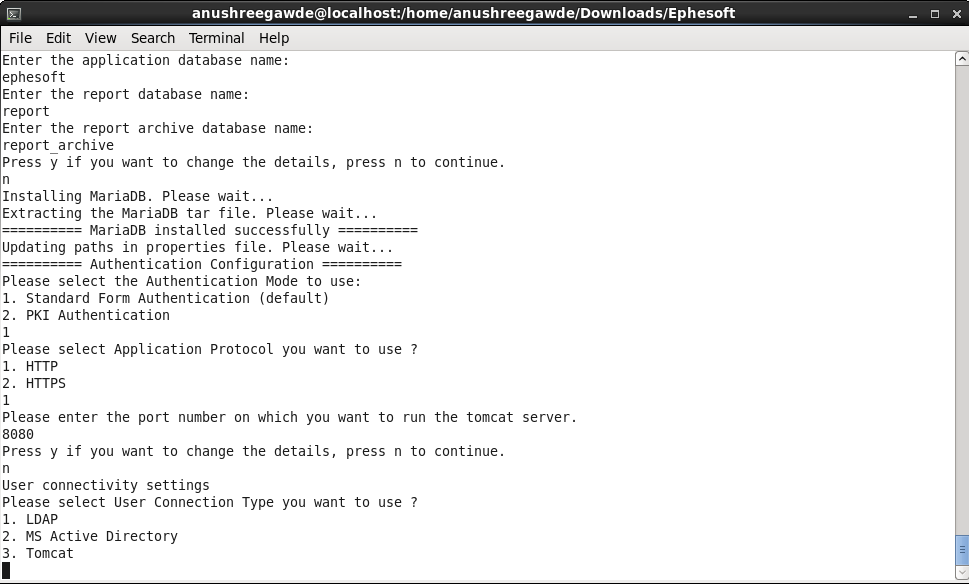
12. Select the appropriate Authentication Mode and desired application protocol.
13. Select the appropriate User Connectivity Settings.
14. Enter your Ephesoft Registration Information.
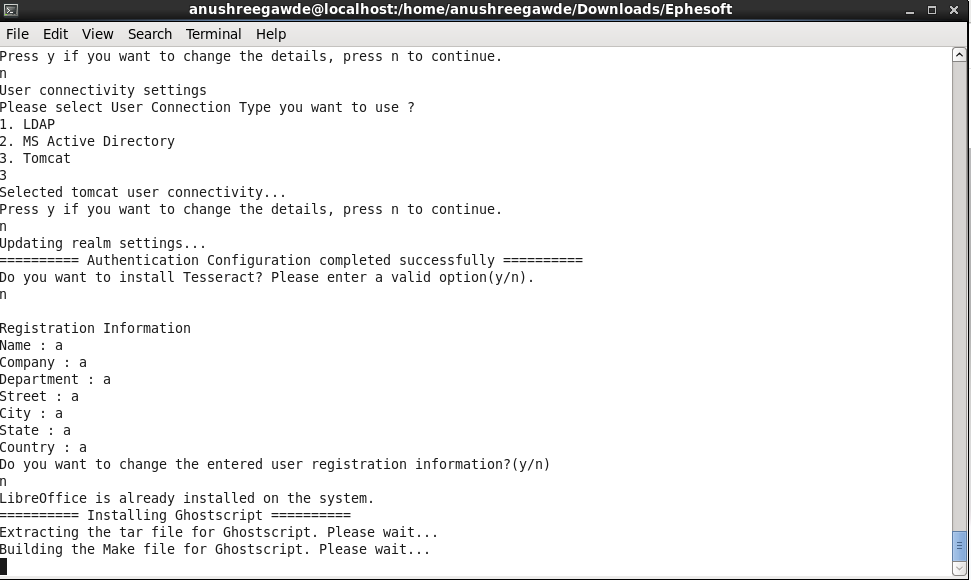
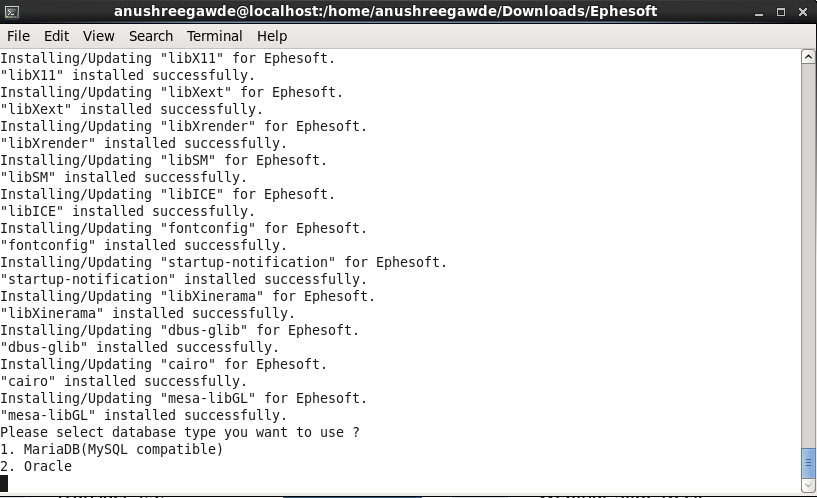
15. The Installer will install MySQL instance. It will then continue to install other applications used by Ephesoft such as LibreOffice, Ghostscript, ImageMagick.
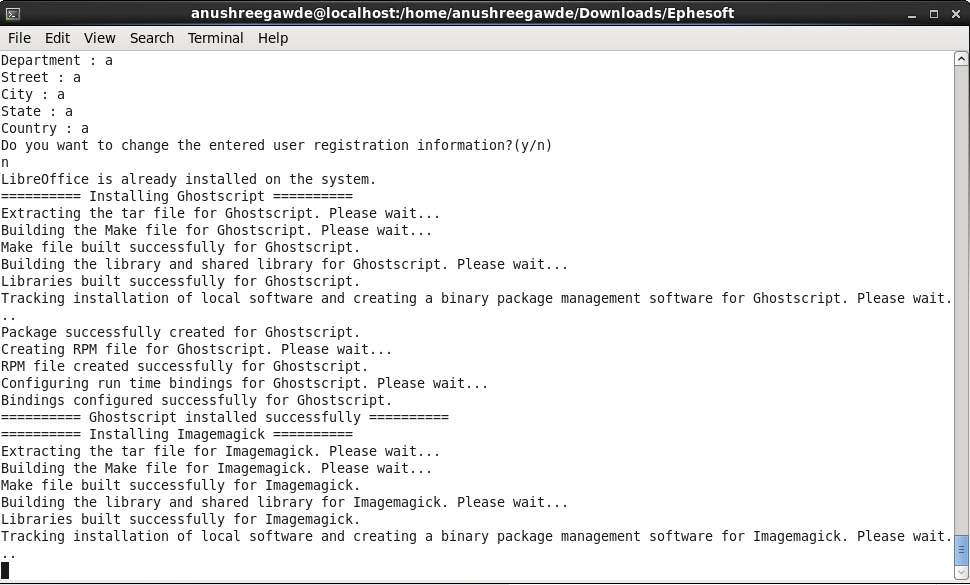
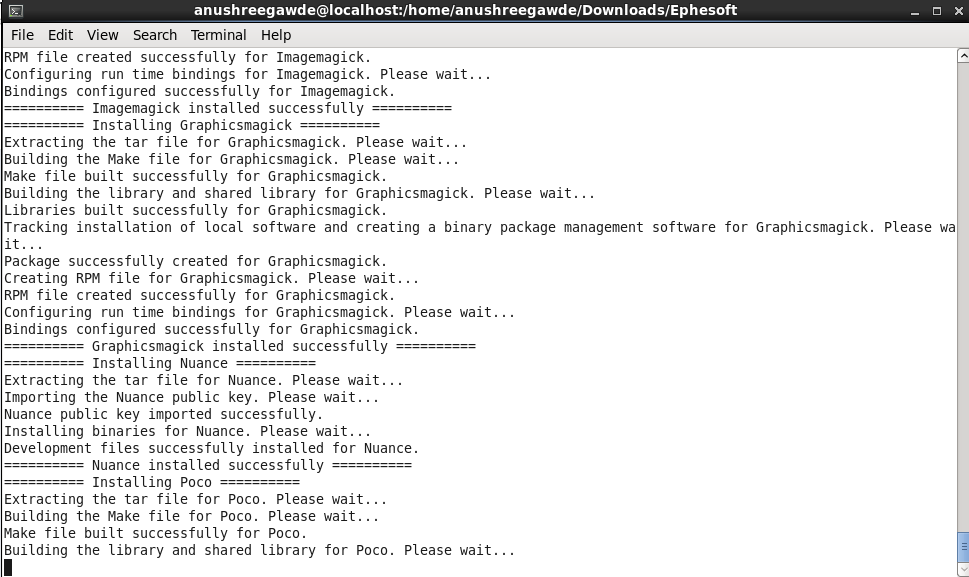
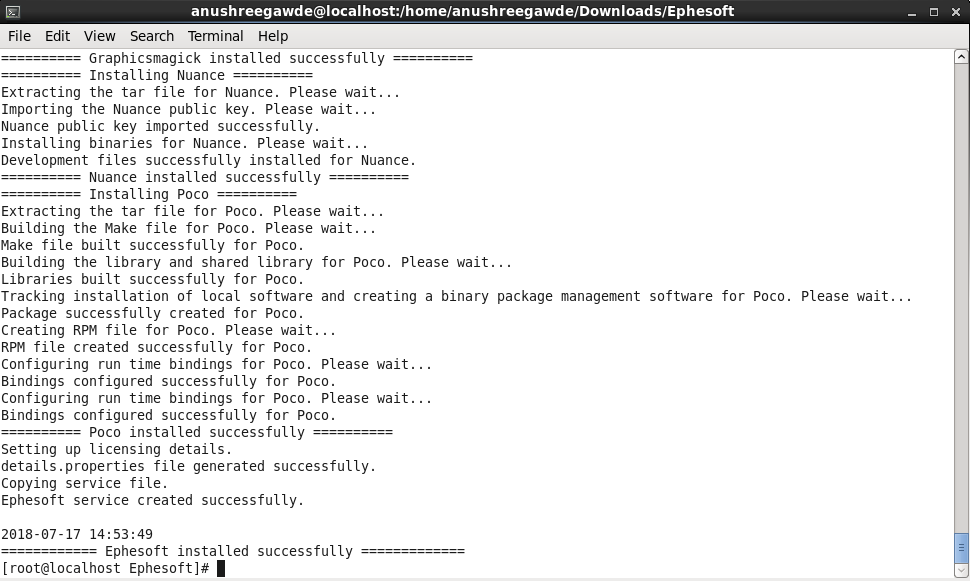
16. The installer will continue to install applications used by Ephesoft, such as Nuance and Poco.
Ephesoft has now been installed on your server. Please follow steps below to apply a license to your Ephesoft installation before starting Ephesoft for the first time.
Licensing:
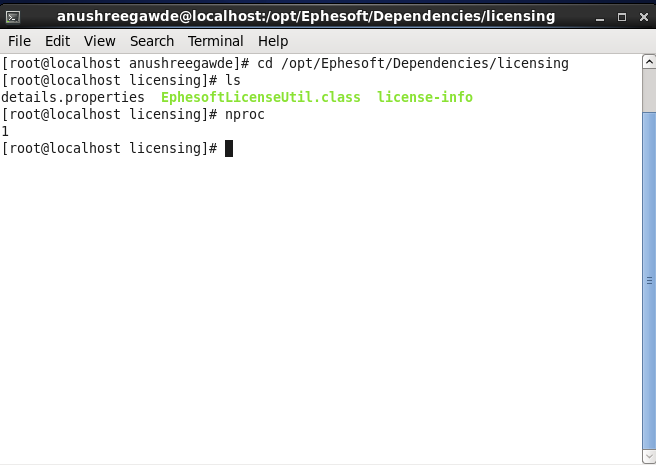
1. Navigate to /opt/Ephesoft/Dependencies/licensing and send the details and Properties file to licenses@ephesoft.com. Be sure to note that your installation is a Linux installation and advise the Ephesoft licensing team of the number of CPU cores on the server.
If you are not sure how many CPU cores your server has, type nproc in the terminal and it will give you the number of cores as an output.
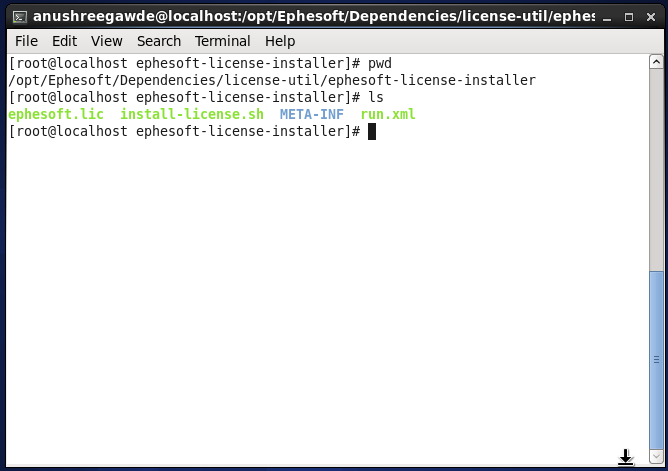
2. The Ephesoft licensing team will send you a file named ephesoft.lic. Place this file in the following folder:
/opt/Ephesoft/Dependencies/license-util/ephesoft-license-installer
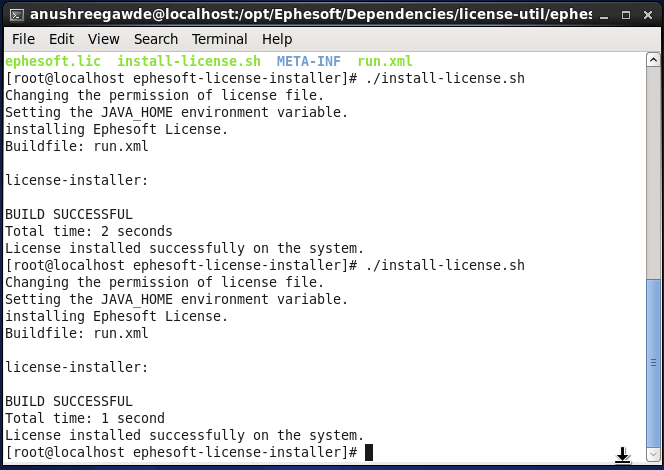
3. While you are still root user and the ephesoft.lic file has been copied to the correct folder, run the following command in the folder mentioned above.
./install-license.sh’
To make sure that the license was installed correctly, we encourage you to run this command a second time.
./install-license.sh
4. Now that the license has been installed, you can change users back to your user instead of the root user. Su -username command will help in this case. This command will also put you back in the home directory for your user.
5. You can start Ephesoft for the first time. Run the following command to start Ephesoft.
sudo /opt/Ephesoft/JavaAppServer/bin/startup.sh
This command must be run with sudo rights.
Ephesoft is now started.

6. Open a web browser on the workstation and browse to http://localhost:8080/dcma/home.html. This will bring you to the home menu for Ephesoft.
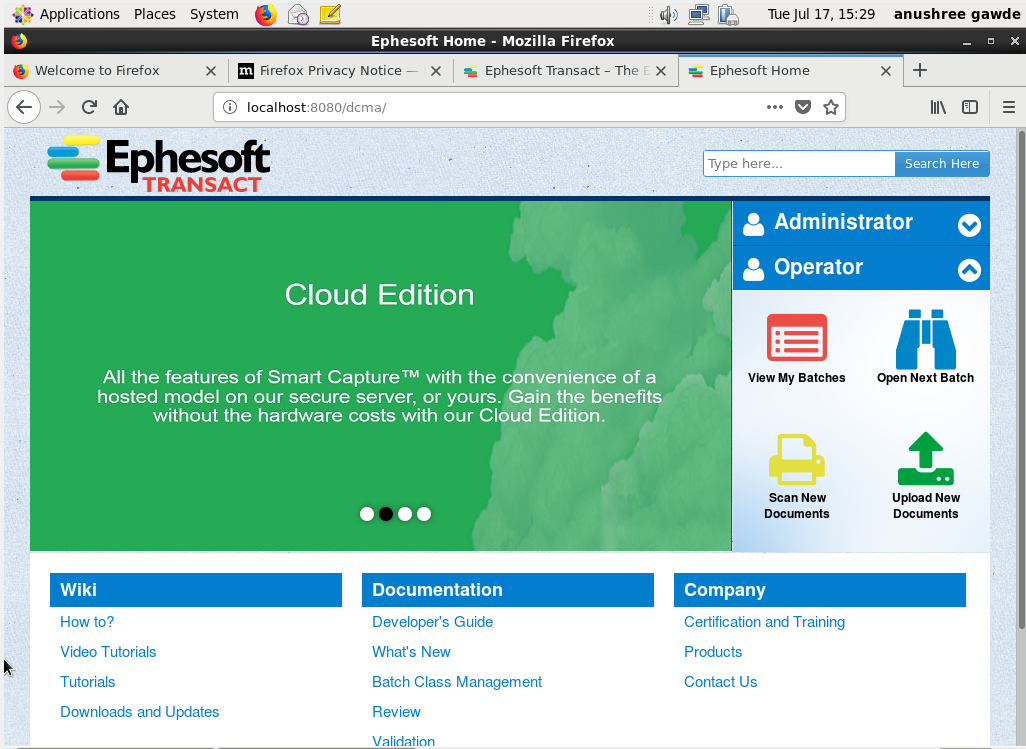
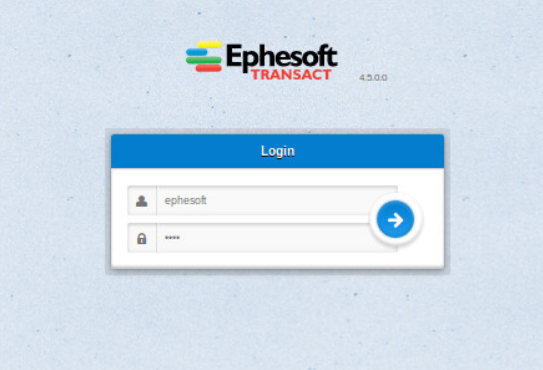
7. Clicking on the Administrator or Operator icon will take you to the login screen. The username is ephesoft and the password is demo.
Troubleshooting
- If the Ephesoft installer stops with an error during any step of the installation process. Please send the following files to Ephesoft Support at tickets@ephesoft.com and please include the distribution and version of linux on which you are installing.
/var/log/install-ephesoft.log
/etc/Ephesoft/ephesoft.conf (only root has access to this folder, if file does not exist, send only first file.)
- If you do not have root or sudo permissions on the server, please contact your system administrator for permissions and/or instructions.
- If installing SharedFolders directory on a remote server/NAS/SAN, please advise your system administrator to mount the share locally to your server and use the path they provide during the install. You can contact support for assistance if you run into issues with this. Persistent mount of the share on the local server will be necessary for Ephesoft to function.
Notes:
- Although Ephesoft Transact may support other Ubuntu and RHEL based distributions, we have not tested them all. Please contact support at tickets@ephesoft.com before attempting an installation so that we can advise you of any changes that may need to be made during the install process.
- In Ubuntu, Ephesoft installation will turn the Firewall(ufw) on after install. At the end of the install, if you want ufw turned off, please remember to turn it off again with the command sudo ufw disable.
- When shutting down the Ephesoft service in Ubuntu, use the command sudo /opt/Ephesoft/JavaAppServer/bin/shutdown.sh.
- After you install Ephesoft, before you run Ephesoft for the first time, run the following commands(dos2unix is installed by Ephesoft):
Sudo dos2unix /opt/Ephesoft/JavaAppServer/conf/*
Sudo dos2unix /opt/Ephesoft/JavaAppServer/bin/*
Extra Troubleshooting
If you get the following error while installing the MariaDB database, run the following command:
yum remove mysql mysql-server
This will help with a smooth installation.
Ephesoft Service
Overview
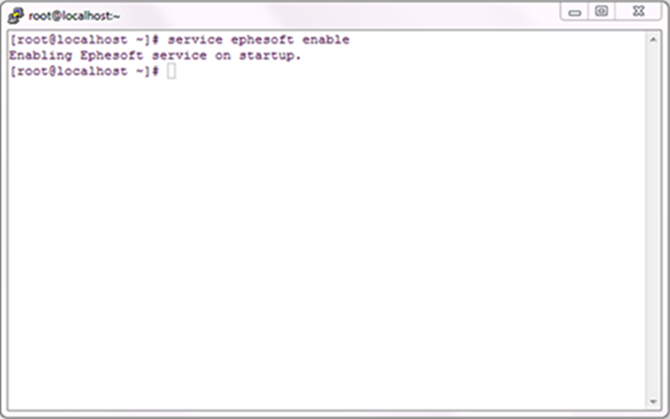
A Linux service is an application (or set of applications) that runs in the background waiting to be used, or carrying out essential tasks. By default Ephesoft service is added to start up. This means that Ephesoft will be in running state if user reboots the system. User can disable Ephesoft service by giving action as disable.
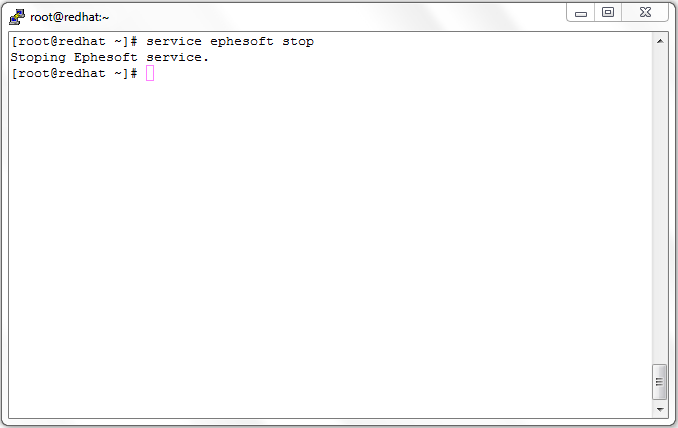
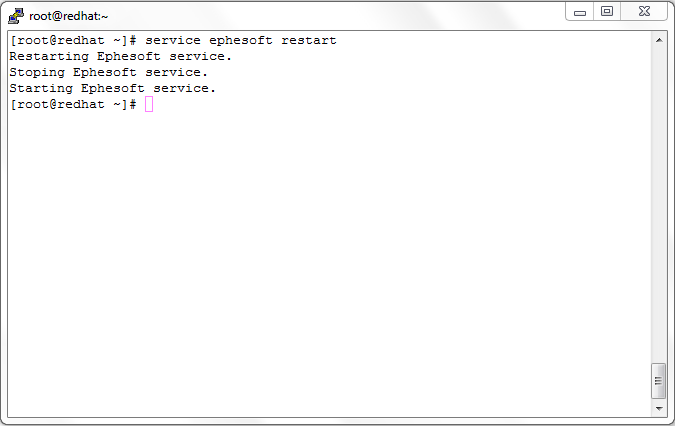
User can use ephesoft service by command:
service epheosft [action]
Actions are defined below:
| Sr. No. | Action | Task |
| 1 | start | Starts the ephesoft service. |
| 2 | stop | Stops the ephesoft service. |
| 3 | restart | First stops the service and then start the service. |
| 4 | status | Tells the status of ephesoft service. |
| 5 | disable | Disable the service from start up. |
| 6 | enable | Added to start up. |
NOTE: Ephesoft service should be run with super user permission.
How to use Ephesoft Service
- service ephesoft start

2. service ephesoft stop
3. service ephesoft restart
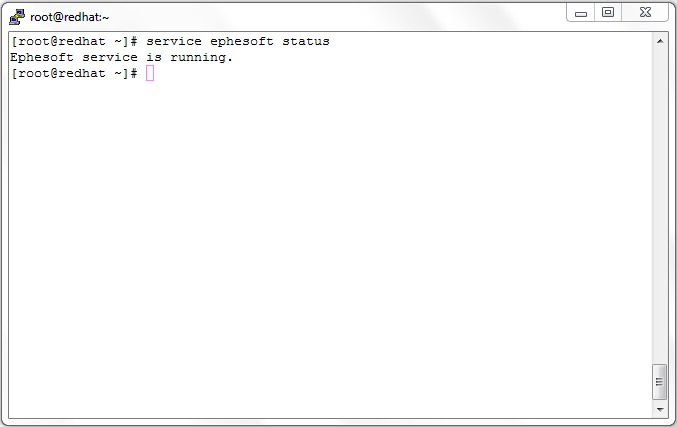
4. service ephesoft status
5. service ephesoft disable

6. service ephesoft enable