Cleanup Plugin for the Folder Import and Export Modules
Introduction
This article provides information about the CLEANUP plugin.
For additional information about the CLEANUP plugin, as supported in previous Transact releases, refer to the following documents:
March 2015 — https://ephesoft.com/docs/clean-up-plugin-2
August 2014 — https://ephesoft.com/docs/clean-up-plugin
Plugin Overview
Transact uses the CLEANUP plugin to delete system files and UNC folder data once all the processing on the batch has been completed. Enable and configure this plugin from the Administrator > Batch Class Management screen.
This plugin brings the following benefits to batch class operations:
- Improves the conversion process.
- Improves system performance.
- Reduces server maintenance over time, by automatically eliminating temporary files that otherwise accumulate over time.
Transact 4.5.0.0 enhances the CLEANUP plugin in two primary ways:
- Introduces support for this plugin in the Folder Import module, and continues to support this plugin in the Export module. You can run this plugin after every conversion to clean up any temporary files on the server.
- Improves the process switch in this plugin, for very large multi-page TIFF files (TIFF files over 15MB in size).
Plugin Operations
This plugin is intended to work after the export phase of the Transact batch processing, when all the processing on the batch is complete and desired results have been exported.
The plugin takes the identifier of a batch instance and removes all the contents and its sub-files from the following paths:
- <SHARED_FOLDER_PATH><BATCH_CLASS_UNC_FOLDER><BATCH_INSTANCE_FOLDER_NAME>
- This folder is always deleted.
- <LOCAL_FOLDER_PATH><BATCH_INSTANCE_IDENTIFIER>
- This folder is deleted only if the plugin setting for Delete System Folder Information is enabled (set to TRUE in the Plugin Configuration screen).
- <BATCH_INSTANCE_IDENTIFIER>.ser file from the <LOCAL_FOLDER_PATH> properties folder
- This file is deleted only if the plugin setting for Delete System Folder Information is enabled (set to TRUE in the Plugin Configuration screen).
Adding the CLEANUP Plugin to the Folder Import Module of a Batch Class
Perform these steps to add the CLEANUP plugin to the Import module of a batch class:
- Log in to Transact. From the Administration section, select Batch Class Management.
- In the Batch Class Management screen, select the batch class to configure and click Open.
- Navigate to Modules > Folder Import. The plugins that are currently enabled in this module appear.
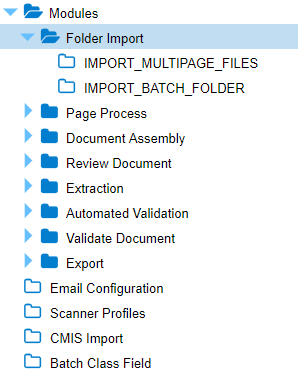
Folder Import Module with Plugins
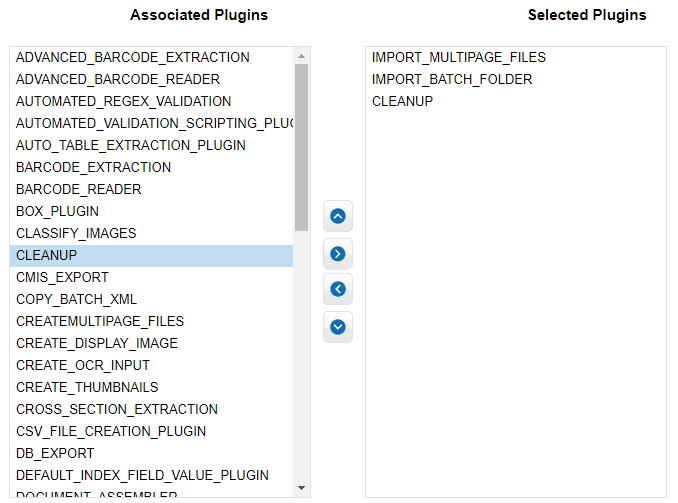
4. To add the CLEANUP plugin to this module, scroll down to this plugin from the Associated Plugins menu, and select it.
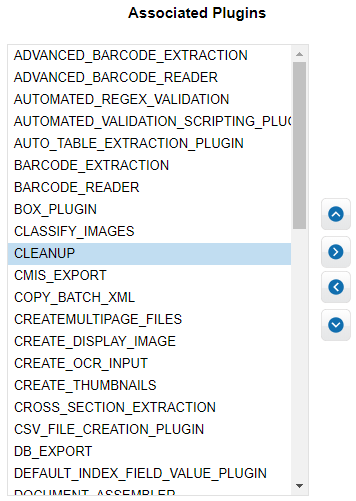
Selecting the CLEANUP Plugin
5. Click the right arrow to move it to the field on the right.
Note: If the CLEANUP plugin has already been added to the Export module, the system will advise you of this status.
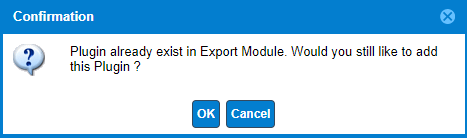
Confirmation Message
Note: If the CLEANUP plugin has dependencies, it will advise you and ask if you wish to add the dependency plugins as well. The screen highlights the additional plugins for your review.

Plugin Addition Message
6. Click OK to proceed.
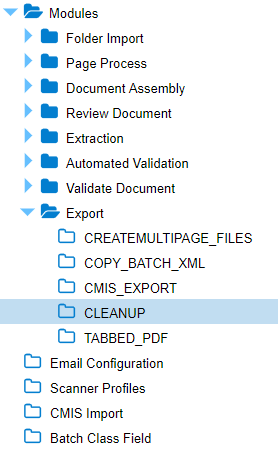
This activates the plugin for the Folder Import module, and moves the plugin to the Selected Plugins field.

CLEANUP Plugin After Adding to the Selected Plugins for this Module
7. Select (highlight) the CLEANUP plugin on the right, and click the up or down arrow to adjust the sequence of this plugin in relation to the other plugins.
8. Click Apply to apply or register the changes. Then click Deploy to activate the changes.
The system displays a temporary confirmation message that the changes have been saved and that the workflow has been activated.
The CLEANUP plugin is now included in the batch class.
9. In the same batch class, and from the Batch Class management screen, enable or disable the plugin by following these steps:
a. Navigate to the Export module and select (highlight) the CLEANUP plugin.
Select the CLEANUP Plugin from the Export Module
The Plugin Configuration screen appears.

Plugin Configuration Screen
b. Select TRUE or FALSE to enable or disable the folder information.
- TRUE — Sets the plugin to delete the <Local folder><Batch instance> folder and its contents to be deleted.
- FALSE — Sets the plugin to leave the <Local folder><Batch instance> folder and its contents after import.
Adding the CLEANUP Plugin to the Export Module of a Batch Class
Perform these steps to add the CLEANUP plugin to the Export module of a batch class:
- Log in to Transact. From the Administration section, select Batch Class Management.
- In the Batch Class Management screen, select the batch class to configure and click Open.
- Navigate to Modules > Export. The plugins that are currently enabled in this module appear.
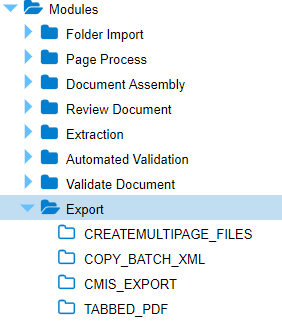
Folder Import Module with Plugins
4. To add the CLEANUP plugin to this module, scroll down to this plugin from the Associated Plugins menu, and select it.

Selecting the CLEANUP Plugin
5. Click the right arrow to move it to the field on the right.
Note: If the CLEANUP plugin has already been added to the Folder Import module, the system will advise you of this status.
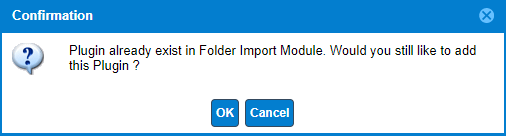
Confirmation Message
Note: If the CLEANUP plugin has dependencies, it will advise you and ask if you wish to add the dependency plugins as well. The screen highlights the additional plugins for your review.
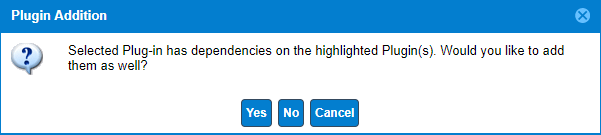
Plugin Addition Message
6. Click OK to proceed.
This activates the plugin for the Folder Import module, and moves the plugin to the Selected Plugins field.
CLEANUP Plugin After Adding to the Selected Plugins for this Module
7. Select (highlight) the CLEANUP plugin on the right, and click the up or down arrow to adjust the sequence of this plugin in relation to the other plugins.
8. Click Apply to apply or register the changes. Then click Deploy to activate the changes.
The system displays a temporary confirmation message that the changes have been saved and that the workflow has been activated.
The CLEANUP plugin is now included in the batch class.
9. In the same batch class, and from the Batch Class management screen, enable or disable the plugin by following these steps:
a. Navigate to the Export module and select (highlight) the CLEANUP plugin.

Select the CLEANUP Plugin from the Export Module
The Plugin Configuration screen appears.

Plugin Configuration Screen
b. Select TRUE or FALSE to enable or disable the folder information.
- TRUE — Sets the plugin to delete the <Local folder><Batch instance> folder and its contents to be deleted.
- FALSE — Sets the plugin to leave the <Local folder><Batch instance> folder and its contents after import.