Applies to: Ephesoft Transact 4.5.0.0 and above
This page describes how to import custom plugins into a batch class. These instructions are intended for Transact Administrators working in an on-premises environment. For Transact Cloud environments, free custom plugins are available in your instance by default.
To purchase a premium custom plugin, please contact sales@ephesoft.com.
Overview
Custom plugins are imported as a ZIP file, which contains a plugin JAR file and an XML file with information about the plugin. Once a custom plugin is uploaded into Transact, the system creates an entry in the database where all default plugins are listed.
The plugin JAR is copied to the customPluginJars folder in SharedFolders, along with the associated XML file.
Import the Plugin
To import a custom plugin, perform the following steps:
- In Ephesoft Transact, go to System Configuration.
- Select Workflow Management.
- In the Import Plugin panel, click Select Files.
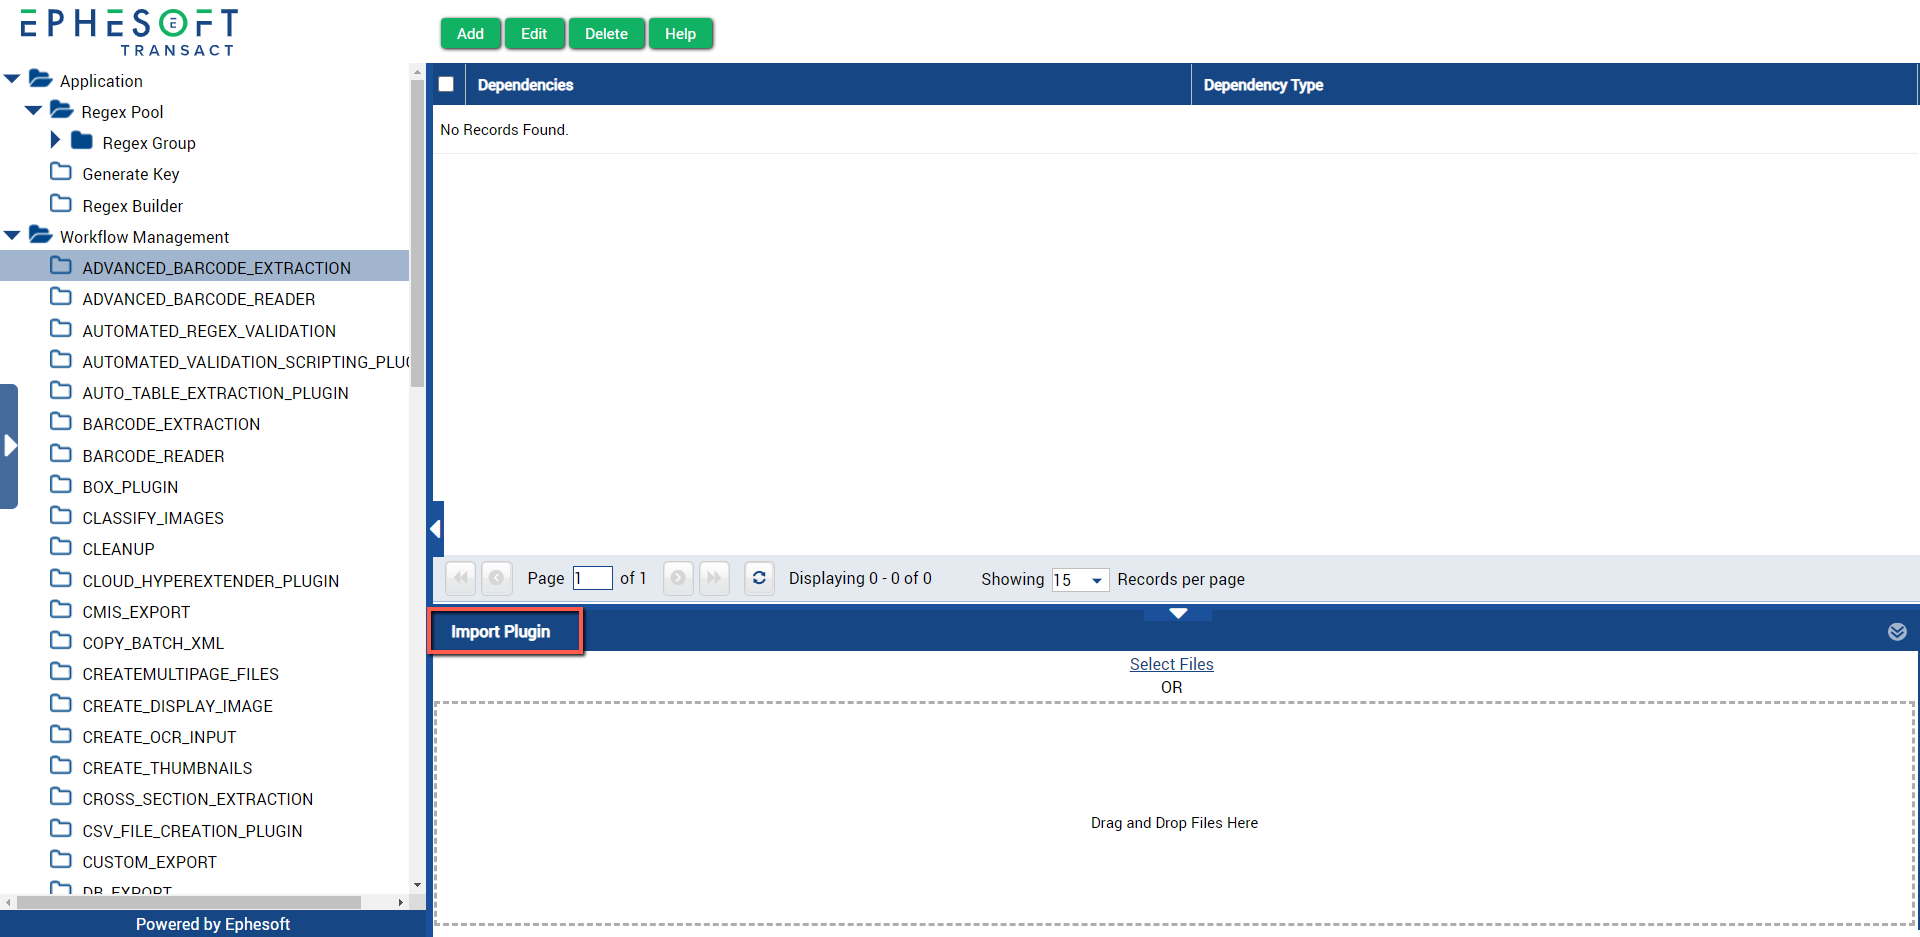
Figure 1. Import Custom Plugin
- From the pop-up, select your ZIP file and click Open.
- Restart Ephesoft Transact.
The custom plugin is now available for use.
Note: To use the plugin, navigate to the associated module, and add the plugin to the Selected Plugins column. Refer to Configuring Plugins for steps.
For help removing a custom plugin, refer to Removing Custom Plugins.