Introduction
This document describes how to use Ephesoft Transact using Automation Anywhere. Allow for at least 30 minutes to complete this procedure.
Prerequisites
To complete the steps in this document, ensure that you have the following prerequisites:
- Ephesoft Transact 4.5.0.2 or a later version installed and licensed.
- Basic understanding of Ephesoft Transact batch class administration
- Automation Anywhere or Automation Anywhere Community Edition installed and licensed.
- Download the RPA Invoice Demo Package zip file.
Import the Batch Class into Ephesoft Transact
Import the sample batch class to complete the prerequisites for this procedure. Perform the following steps:
- Open the RPA Invoice Demo Package zip file > RPA Invoice Demo Package folder.
- Locate the RPA_Invoice_BC.zip file. This is your sample batch class.
- Log into Ephesoft Transact as an Administrator.
- Use the Batch Class Management screen to import the batch class from step 2.
User Instructions
After you have completed the prerequisites, you are ready to perform the user instructions below.
Using Automated Tasks with Automation Anywhere
This section provides examples on how to use Ephesoft Transact with Automation Anywhere using automated tasks and an Automation Anywhere (AA) Bot.
The primary method of using Ephesoft Transact with Automation Anywhere is to have an AA Bot send images from a folder (that is not monitored by Ephesoft) to an Ephesoft Transact watch folder. The images in the folder are then processed through Ephesoft Transact and exported to a .CSV file and sent back to the AA Bot. If documents are being ingested directly to the Ephesoft Transact drop folder that is monitored by Ephesoft, then you don’t need the AA Bot to start the batch processing.
An AA Task monitors a folder path for the .CSV file, opens that file, pulls data elements from some of the cells, and assigns these data elements to variables. The Robotic Process Automation (RPA) bot then uses the data however it wishes.
Perform the following steps to open and run an AA Task and to use the AA Bot:
- Open the Automation Anywhere application.
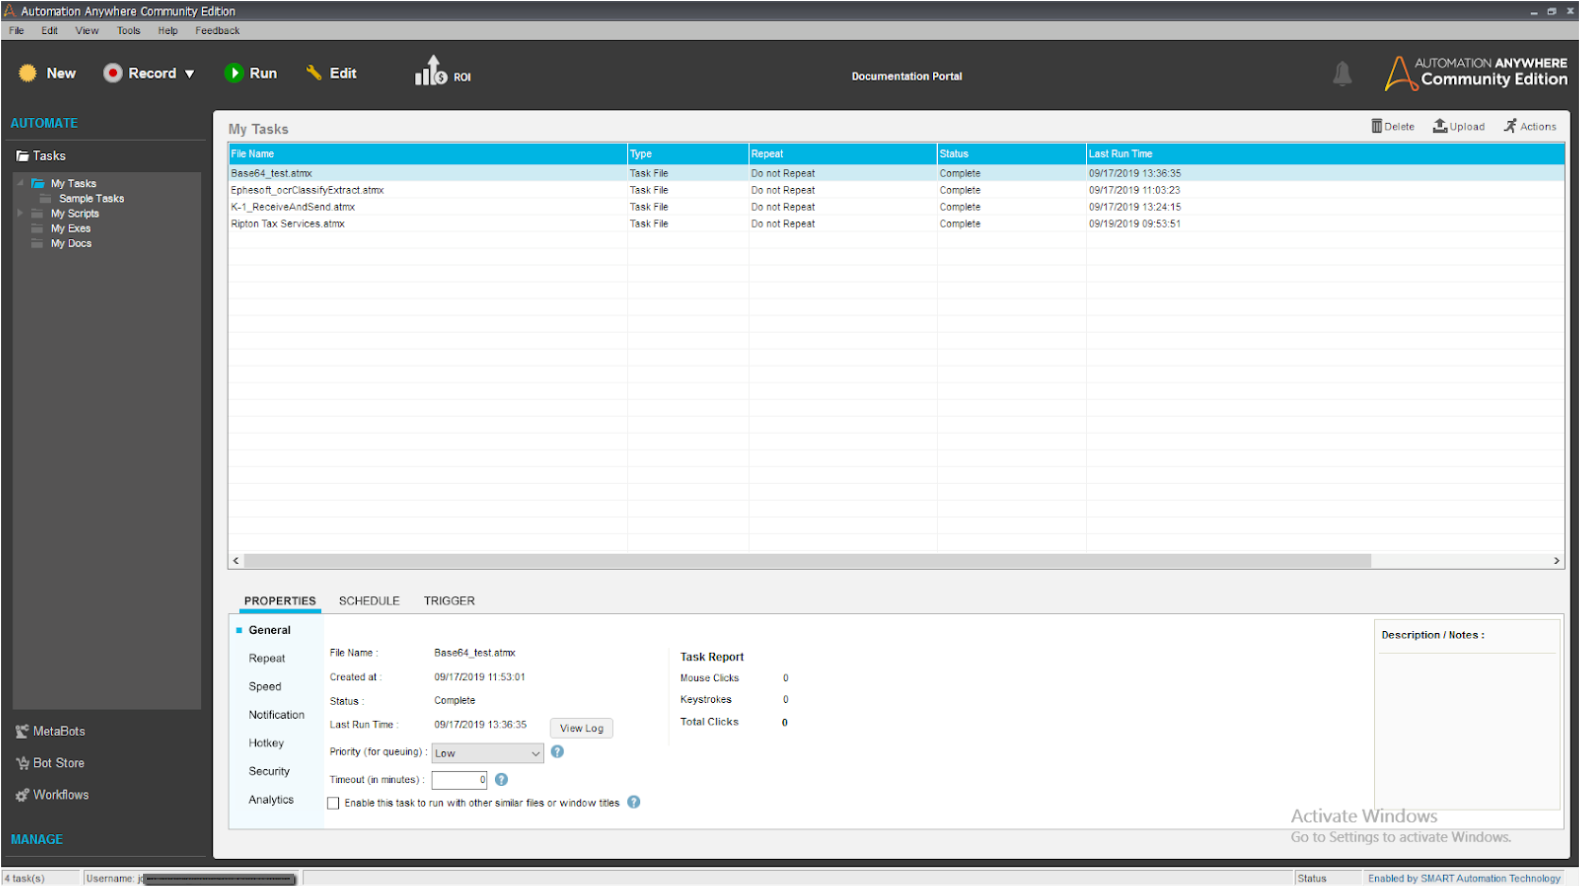
Figure 1: Opening Automation Anywhere Community Edition Application
- Select New. The Automate screen displays. Select Workbench.
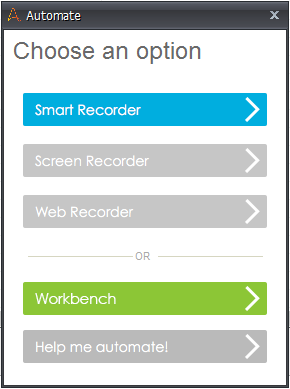
Figure 2: Choosing Workbench
A new AA Task is ready to be configured.
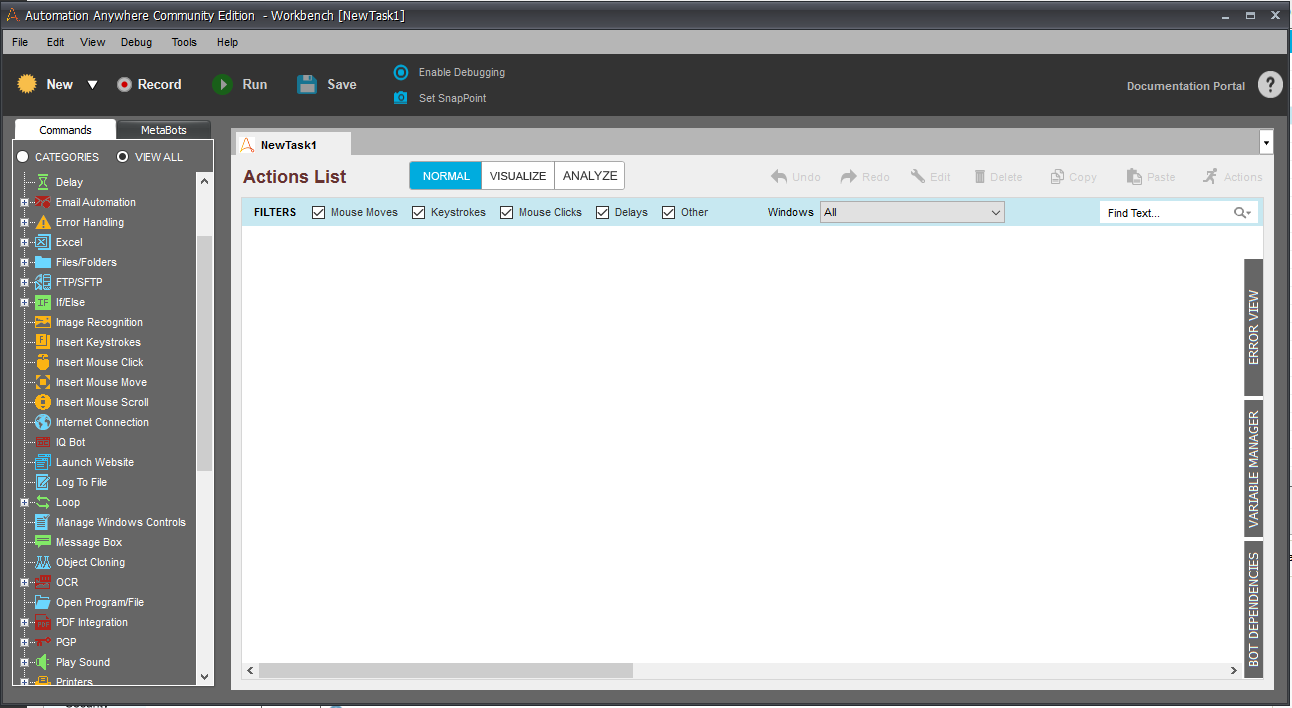
Figure 3: New Task Screen
-
- Click Variables Manager on the lower right-hand side of the screen, and click Add. The Add Variable screen displays.
- Keep the Value field blank when adding each of the following variables:
-
-
- VendorName
- InvoiceNumber
- InvoiceDate
- AmountDue
-
- Click Save after each variable above is added.
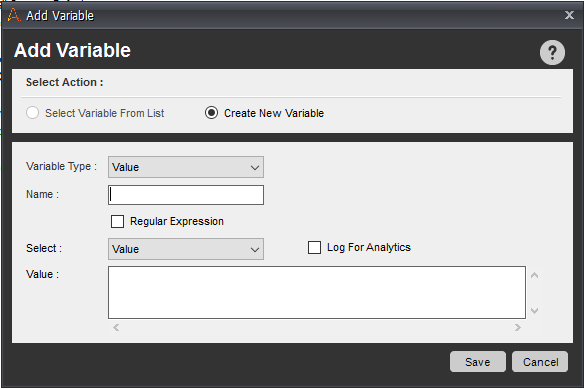
Figure 4: Adding Variables
-
- Add the following commands to your task:
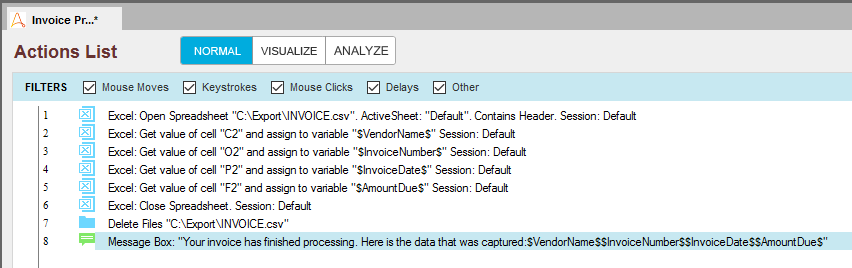
Figure 5: Adding Commands to Your Task
-
- Save your task.
- Run a batch through Ephesoft Transact. If the batch becomes Ready for Review or Ready for Validation, open Ephesoft Transact, and finish the review and validation process.
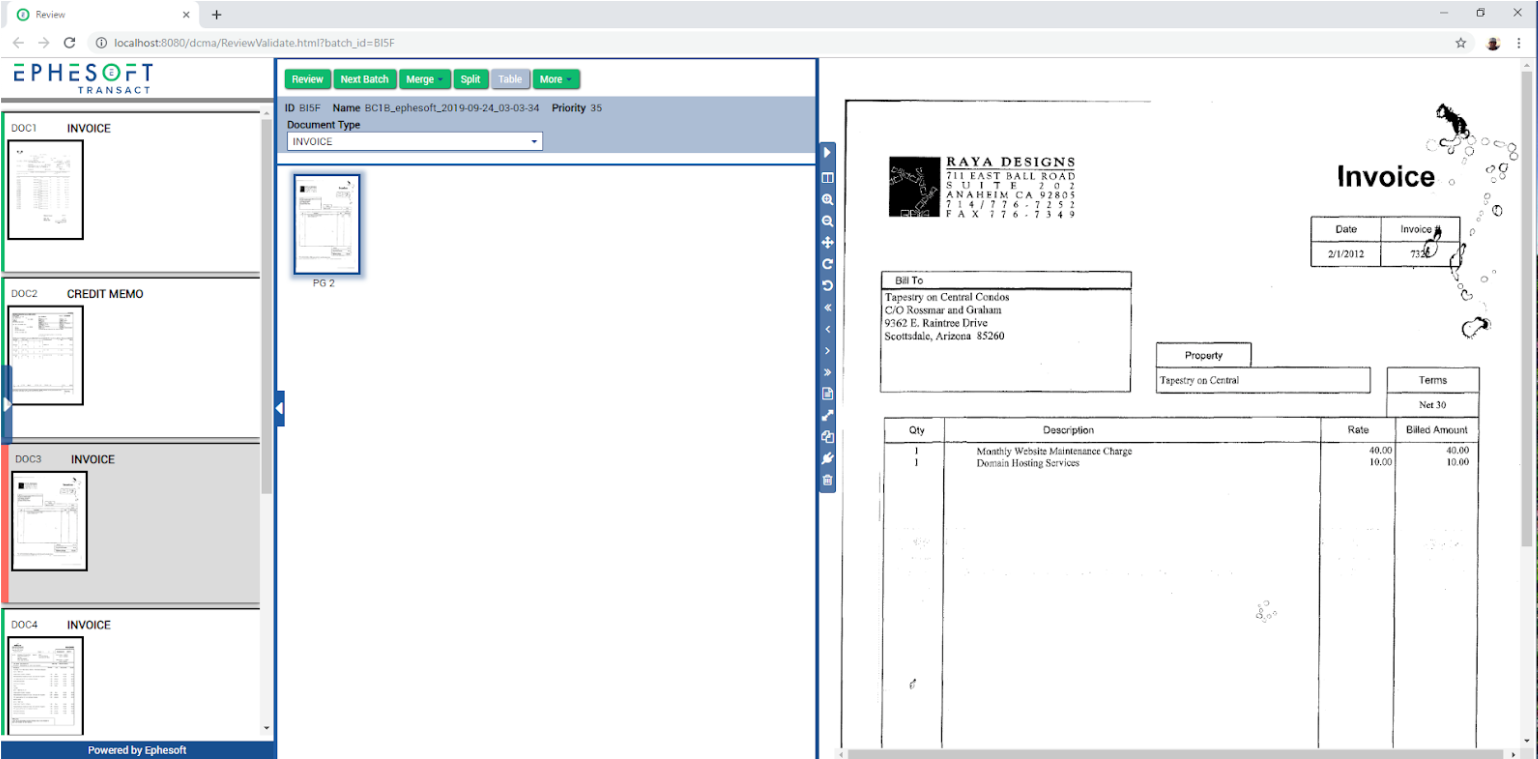
Figure 6: Reviewing and Validating
- Once the batch is validated in the Review screens, Ephesoft Transact exports the batch as a .CSV file. The following figure illustrates the Export plugin that was used in this sample batch class.
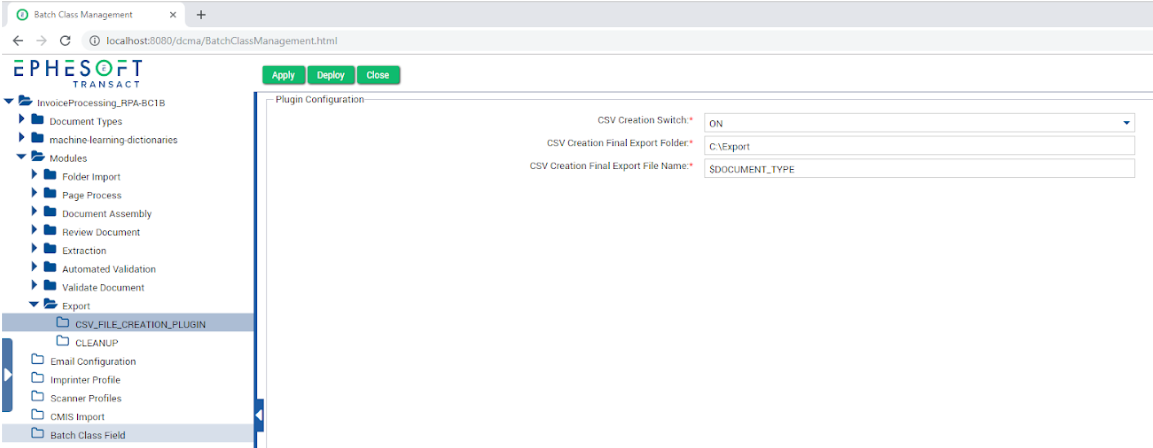
Figure 7: Export Plugin
The AA bot will monitor the Ephesoft Transact export location.
- Run your task. A message displays data that was extracted from the invoice.
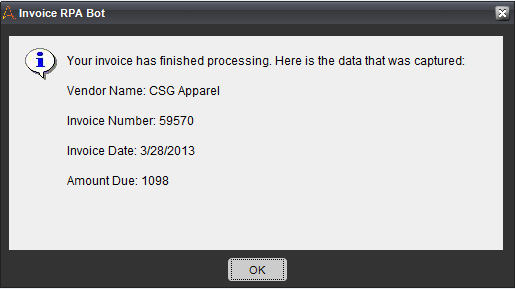
Figure 8: Data Message
Conclusion
If you have completed the tasks in this document, you have completed the procedure for using Ephesoft Transact with Automation Anywhere tasks.