Overview
Ephesoft Transact supports transferring batch class configurations and rules from one environment to another. You can import and export batch classes to build and configure in a test environment before transferring to a production environment. This helps reduce interruptions that affect document processing in a production environment.
Refer to the table below for key terms used throughout this article.
| Term | Definition |
| Batch class | Document types, associated fields, extraction rules, monitored folders, and ingestion methods for a specified workflow in Ephesoft Transact |
| Document type | The structure and elements that define a document |
This document applies to all versions of Ephesoft Transact. Steps 8 and 9 in Importing a Batch Class are applicable only for Ephesoft Transact 2020.1 or above.
Exporting a Batch Class
Exporting a batch class efficiently transfers rules, configurations, and learned files from one environment to another. Exported batch class data includes:
- Batch class folder
- Local and global document types
- Page types
- Regular expressions
Follow the steps below to export a batch class.
- Go to the Batch Class Management screen.
- Select a batch class.
- Click Export. An Export Batch Class dialog box displays.
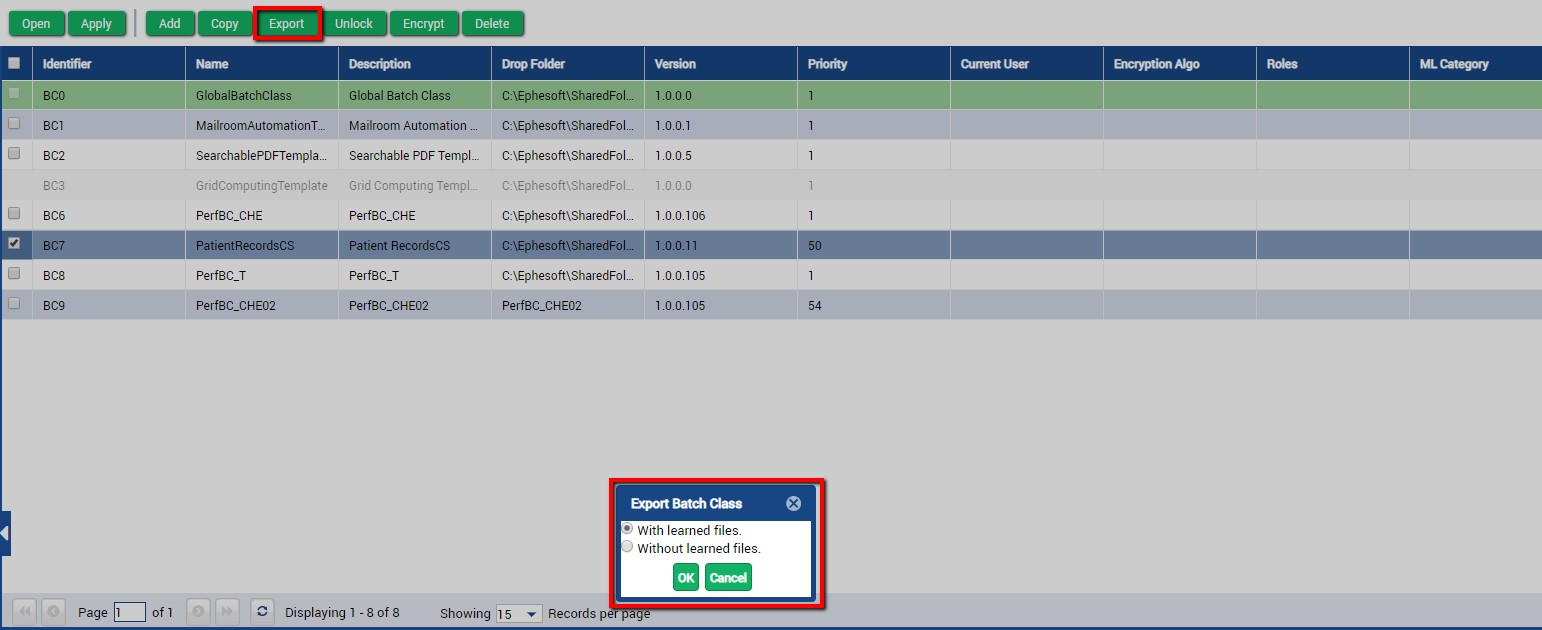
Figure 1. Batch Class Management Screen
- Select the following as applicable:
-
- With learned files: Export the batch class with the learned files in the lucene-search-classification-sample and image-classification-sample folders.
- Without learned files: Export the batch class without the learned files in the lucene-search-classification-sample and image-classification-sample folders.
Note: These folders are required to replicate the source environment and classification results for processing documents in batches. By default, the configuration is set to export learned files.
- Click OK. The batch class is exported as a .zip file. The figure below shows the folder structure of the exported batch class.
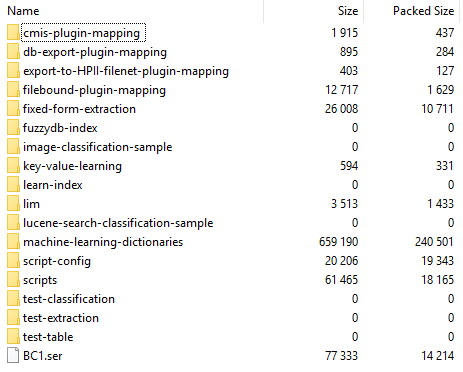
Figure 2. Exported Batch Class Folder Example
You have successfully exported a batch class.
Importing a Batch Class
Importing a batch class creates a new batch class with the same configuration and rules defined in the source batch class being imported. This includes local and global document types, related HTML, XML and TIFF files, learned indexes, and more.
To import a batch class, ensure an exported batch class .zip file is available.
Note: Steps 8 and 9 are applicable for Ephesoft Transact 2020.1 or above.
Perform the following steps to import a batch class:
- Go to the Batch Class Management screen.
- Click Select Files or drag and drop exported .zip file in the bottom panel as shown below:
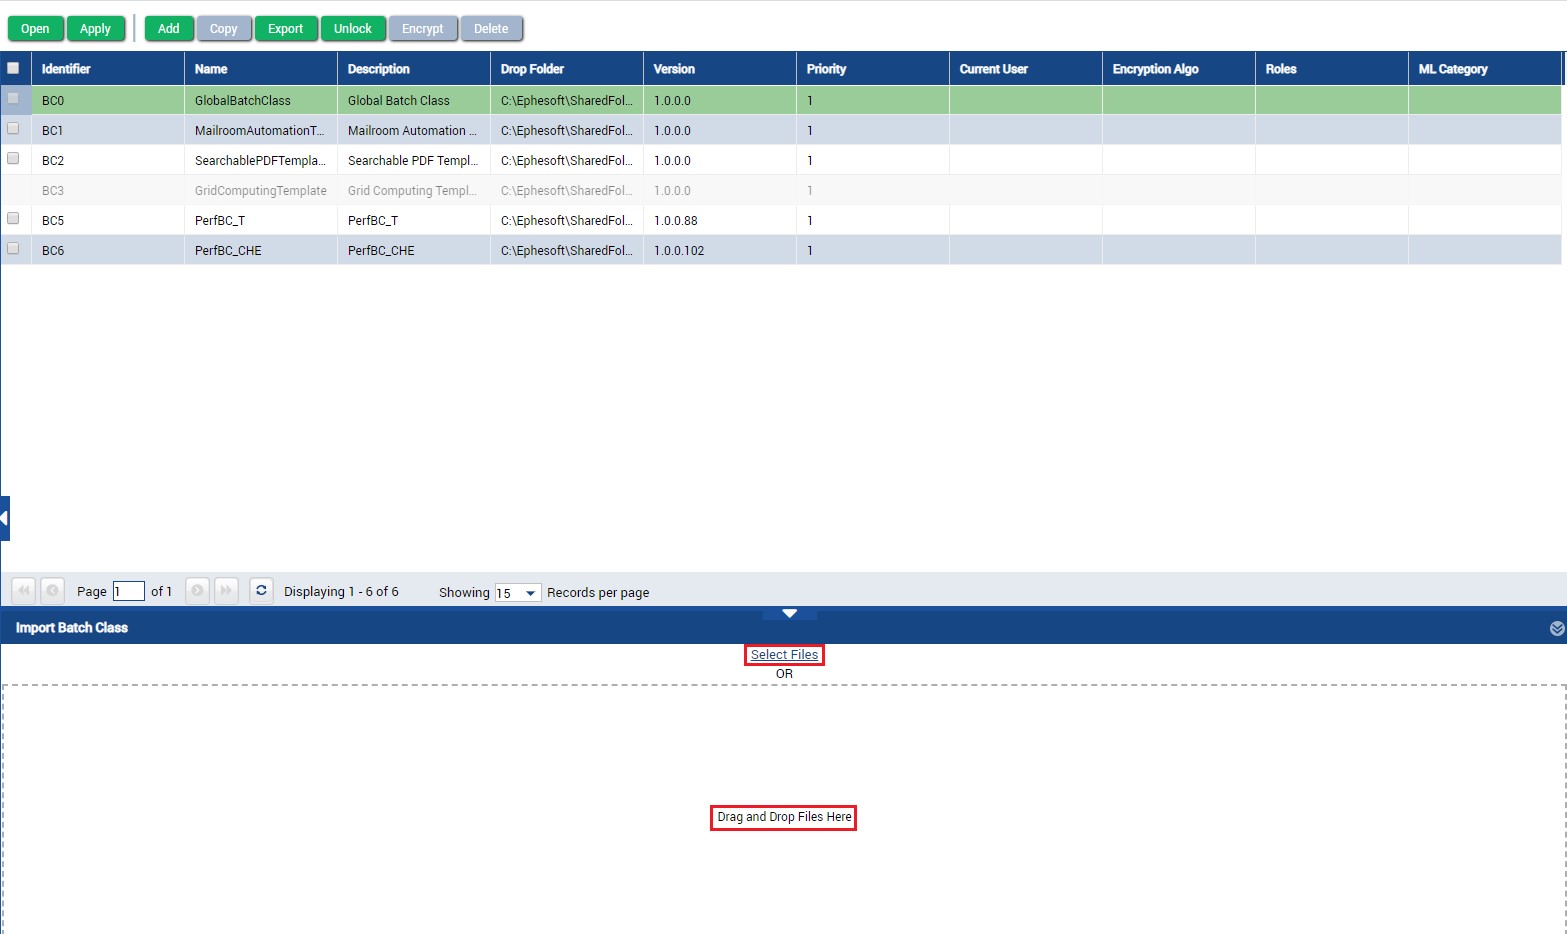
Figure 3. Import Options
- An Import Batch Class dialog box displays.
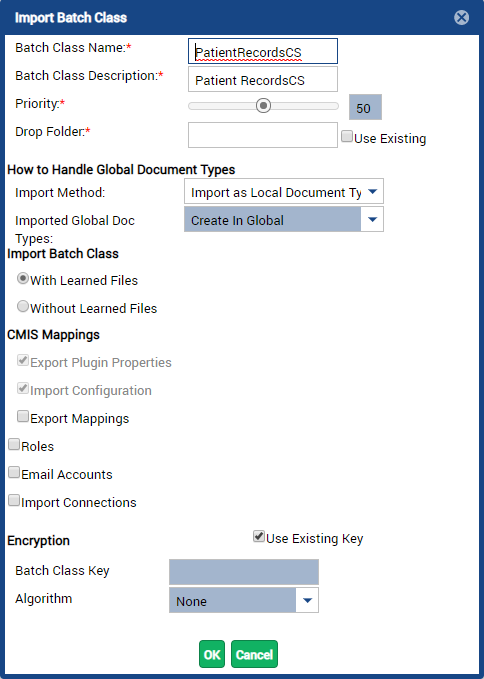
Figure 4. Import Batch Class Dialog Box for Transact 2020.1
- Enter the Batch Class Name. This must be unique and cannot contain any special characters that are defined in the properties file.
- Enter a description in Batch Class Description to describe the batch class.
- Drag the slider to indicate the Priority level. By default, the level is 1. The value can range from 1 to 100 where 1 is the most urgent priority and 100 is the lowest priority.
- Choose either option for the Use Existing checkbox to determine the Drop Folder field:
-
- Unselect Use Existing to create a new batch class with a unique folder path. Enter this folder path for the batch class in Drop Folder. An example is D:\\Shared Folders\\new-public-unc-folder.
- Select Use Existing to create a new batch class with an existing folder. Click the Drop Folder field to select an existing folder. This creates a new version of the existing batch class.
Note: Skip to step 10 if you are not using Ephesoft Transact 2020.1 or above.
- Select the Import Method. This controls how global document types in the imported batch class are linked to the global batch class in the destination system. Refer to Global Batch Class Management for more information about global document types.
-
- Import as Local Document Types: Create local document types for the global document types in the imported batch class. By default, Create In Global is automatically selected for Imported Global Doc Types.
- Link to Global Batch Class: Link the global document types from the imported batch class to the global batch class.
- Select one of the following options as applicable for Imported Global Doc Types. These options are available if Link to Global Batch Class is selected.
-
- Create Global: Create document types in the global batch class (BC0) if the global document types in the imported batch class are not defined in the global batch class. The global document types in the imported batch class are linked to the global document types in the global batch class.
- Create Locally: Define imported document types in the imported batch class as non-global document types if the imported global document types do not exist in the global batch class (BC0).
- Ignore Missing: Exclude any global document types from the imported batch class that do not exist in the global batch class.
- Abort Import: End the import process if global document types in the imported batch class are not available in the global batch class of the destination environment.
- Choose either option for Import Batch Class.
-
- With Learned Files: Include the learned document images and data from the imported batch class. By default, learned data is imported in the imported batch class.
- Without Learned Files: Exclude the learned document images and data from the imported batch class.
- Select the following for CMIS Mappings as applicable:
-
- Export Plugin Properties: Transfer the available plugin properties of the imported batch class.
- Import Configuration: Include the CMIS credentials and configurations defined under the CMIS Import screen in the batch class.
- Export Mappings: Import and overwrite the mapping files defined at Ephesoft_Installation_DirectorySharedFolders{Batch Class}cmis-plugin-mapping folder
Note: These mapping files are used for document and aspect mapping in Alfresco. Refer to CMIS Export Plugin for more information.
Note: Export Plugin Properties and Import Configuration are automatically copied into the imported batch class if the Use Existing checkbox for the Drop Folder field is not selected.
- Select the following as applicable:
-
- Roles: Apply the roles from the imported batch class.
- Email Accounts: Include email account configurations from the imported batch class.
- Import Connections: Import DB Export and Fuzzy DB connections if they are configured in any exported batch class.
- Choose an option for Encryption below to determine the encryption algorithm:
-
- Unselect Use Existing Key to apply a new encryption algorithm for the batch class. Enter a Batch Class Key and Algorithm according to the requirements and data.
- Select Use Existing Key to include the same encryption algorithm for the imported and exported batch class.
- Click OK to create a new batch class. A dialog box displays in the top-right corner of the screen.
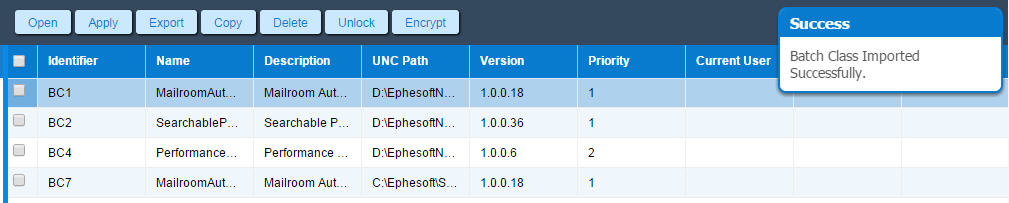
Figure 5. Successful Batch Class Import Dialog Box
You have successfully imported a batch class into Ephesoft Transact.
Troubleshooting
Refer to the table below for common workarounds.
| Issue | Workaround |
| The Imported Global Doc Types option does not work for exported batch classes in Ephesoft Transact versions prior to 2020.1. | Perform an in-place upgrade of Ephesoft Transact to 2020.1 before creating an exported batch class .zip file. |
| Batches are not visible on the Batch Instance Management, Review, and Validation screens. | This may happen when roles are not assigned or if the Roles checkbox is unchecked when importing the batch class.
Perform the following steps to resolve this:
|
| Batches enter an error state in the Page Processing module, which is used when importing a batch class. | Two possible reasons for this issue are:
Perform either of the following solutions:
|